Last updated November 17, 2026








Free written scope consultation - allowances, timeline, and change-order rules on paper before a single trade is scheduled
Bathroom Remodeling Troubleshooting: Common Problems and How to Fix Them
Tile lippage, grout cracking at the floor-wall joint, and a slow drain that shows up three weeks after the remodel is finished are three different symptoms of the same root cause: substrate prep was skipped to save a day. In our experience, most bathroom remodel problems aren’t random bad luck – they’re predictable failures at four specific transition points. This guide is a field manual for those points. You’ll learn how to tell a cosmetic issue from a structural one, what a homeowner can reasonably fix without a licensed trade, and how to document a problem so a contractor actually acts on it. This is written from Paradise, where our dry desert air and monsoon-season humidity swings are hard on buildings.
Quick Answer
Most bathroom remodel problems in Paradise trace back to four transition points: the substrate under the tile, the waterproofing membrane behind it, the drain rough-in height, and the caulk joints at floor-wall and wall-wall corners. Cosmetic issues like hairline grout cracks and discolored caulk can often be repaired by the homeowner. Anything involving water behind the wall, a slow drain that started after a remodel, or tile movement almost always needs a licensed trade, because fixing it properly means opening up the assembly.
Styles & brands we work with
- Kitchen remodeling
- Bathroom remodeling
- Home additions & ADU
- Roofing
- Windows & doors
- Driveway & pavers
- Fence
Table of Contents
- The Four Transition Points Where Bathroom Remodels Fail
- Cosmetic vs. Structural: How to Tell the Difference Before You Call Anyone
- Problem 1: Substrate Prep Skipped to Save a Day
- Problem 2: Waterproofing Membrane Failures
- Problem 3: Drain Rough-In Height and Slow Drains
- Problem 4: Caulk and Grout Joint Failures
- Step-by-Step: How to Diagnose a Bathroom Problem in Under 30 Minutes
- How to Document a Problem and Get Action From a Contractor
- Which Problems Void a Manufacturer Warranty (and Which Don’t)
The Four Transition Points Where Bathroom Remodels Fail
A bathroom is not one surface. It’s a stack of materials that meet each other at specific lines: tile over substrate, substrate over framing, membrane over backer board, floor tile meeting wall tile, and tile meeting a drain assembly. Our technicians have up to 21 years of experience and if there’s one thing that career teaches, it’s that failures happen at the seams, almost never in the middle of a field of tile.
The four highest-failure transition points are:
- Substrate. The layer tile sits on. If it flexes or wasn’t screwed down properly, everything above it moves.
- Waterproofing membrane. The barrier that keeps moisture out of the framing and the room below. One pinhole or a skipped corner and you have a slow leak you won’t see for months.
- Drain rough-in height. The drain has to sit at the exact level the finished floor will reach. Get it wrong and water pools or drains slowly.
- Caulk joints. The flexible lines where rigid surfaces meet. They’re supposed to move. When they’re filled with grout, the grout cracks instead.
Each of these is a place where a crew that’s rushing cuts a corner that seems invisible at walkthrough and becomes obvious six months later. If you’re weighing a remodel right now, our Bathroom Remodeling in Sunrise Manor page walks through how these points are handled on a full project. The larger lesson for this guide is simple: when a bathroom problem shows up, look at the transitions first. That’s where it started.
Cosmetic vs. Structural: How to Tell the Difference Before You Call Anyone
The single most useful thing a homeowner can learn is how to decide whether a problem is cosmetic or structural. It saves you a service call on something you can fix with a tube of caulk, and it stops you from waiting six months on something that’s quietly rotting your subfloor.
Here’s the field test we use:
- Cosmetic: a hairline crack in grout that doesn’t widen when you press near it. Discolored caulk that’s shrunk and pulled away from the joint. A dulled or chipped glaze on a fixture. These are surface issues.
- Structural: tile that sounds hollow when tapped. Tile that moves under your hand. A soft spot on the floor. Grout lines that crack in the same place twice after repair. Any dark staining on the ceiling of the room below the bathroom. Water that reappears after you’ve dried the area.
The tap test is the one most people miss. Tap a tile with a coin and listen. A dull thud means the thin-set has separated and the tile is no longer bonded. Tap several tiles across the floor; if one sounds different, you’ve found a problem that predates any visible crack. In Paradise, where summer temperatures routinely push past 110°F and winter nights dip toward freezing, the thermal cycle across an exterior bathroom wall is significant, and bonded tile that was marginal to begin with will come loose faster here than in a milder climate. That’s not a guess – it’s a pattern we see repeatedly on Paradise homes built before 2005.
Problem 1: Substrate Prep Skipped to Save a Day
Substrate failure is the root cause behind the opening example in this guide, and it’s the most expensive problem to correct because you can’t fix it without removing the tile. It shows up as lippage (one tile edge sitting higher than its neighbor), popping tile, or grout that cracks in a straight line year after year.
Substrate prep means a few unglamorous things done right: a floor that doesn’t flex, a backer board screwed down at the manufacturer’s specified spacing, plywood seams staggered and glued, and thinset applied with full coverage rather than dotted at the corners. Cutting this step buys the crew a day. It costs the homeowner thousands later.
Here’s what a proper fix looks like, in order:
- Tap the entire floor to locate every debonded tile. Mark them with painter’s tape.
- Remove the affected tiles and inspect the substrate underneath. If the thin-set pulled up with the tile, the tile was never bonded.
- Check the floor for deflection by walking the area and checking for movement at the joist lines.
- Replace failed backer board or underlayment, then re-set tile with full-coverage thin-set.
- Give the fix a full cure before grouting, then check the joint lines again after a month.
Step two is the one that tells you whether the whole floor is compromised or just a small field. A proper repair on a Paradise bathroom often means pulling more tile than the visible symptom suggests, because the cure has to reach past the damage. This is the kind of work that overlaps with the structural side of a remodel; if you want to see how we approach the full scope alongside the rest of the house, our General Contractor in Sunrise Manor page is a useful companion.
Problem 2: Waterproofing Membrane Failures
Waterproofing failures are the hardest problem to spot because the damage happens behind the wall. By the time you see it – bubbling paint on the back of the adjacent wall, a soft baseboard, dark staining on the ceiling below – the leak has usually been running for months.
There are two common ways the membrane goes wrong. The first is a membrane that was never installed, because the original builder relied on cement board alone and assumed it was enough. It isn’t. Cement board is a backer, not a waterproof barrier. The second is an installed membrane that was penetrated or improperly lapped at a corner, a niche, or the shower valve opening.
Signs to watch for:
- Yellow or brown staining on the ceiling or wall of the room below the bathroom.
- A musty smell that persists after cleaning the bathroom thoroughly.
- Grout and caulk that fail repeatedly in the same spot, especially at a niche or shower valve.
- Tile that’s loose within arm’s reach of the shower valve – that’s where penetrations cluster.
This is a licensed-trade problem, and we want to be direct about why: solving it means opening the wall, and once it’s open you need to know what you’re looking at. It’s not a job for a homeowner with a tube of sealant. Sealant over a failing membrane traps moisture and accelerates the damage. If you’re in Paradise and you’ve seen any of these signs after a recent remodel, the right move is a proper inspection, and we’re happy to be one of the calls you make.
Problem 3: Drain Rough-In Height and Slow Drains
A slow drain that appears after a remodel is almost never clogged hair. It’s usually one of two things: the drain body was set too high relative to the finished floor, or construction debris made it into the trap and the line was never flushed before the job closed.
Drain rough-in height is exacting. The drain assembly has to be set so the finished tile surface meets the strainer at the right elevation. Set too high and water pools around the edges before it drains. Set too low and you get a lip that catches your foot and traps standing water. Neither is dangerous, both are annoying, and both require removing tile around the drain to correct.
The debris theory is easier to check. Unscrew the strainer, and with a flashlight inspect the visible portion of the trap. If you see mortar residue or grout chunks, that’s construction debris. If the line is clear and the drain still runs slow, it’s the rough-in height.
What you can fix yourself:
- Remove the strainer and clean any debris from the visible trap opening.
- Pour a mix of baking soda and white vinegar down the drain, let it sit, and flush with hot water – this clears soap scum, not construction debris.
- Check that the trap arm isn’t clogged by running a hand snake you can buy at any hardware store.
What needs a pro: correcting rough-in height, opening the floor around a drain, or re-plumbing a trap. A Paradise plumber or a remodeler with plumbing experience can tell you within an hour which of the two problems you have.
A note on water lines and electrical: if any part of your diagnosis takes you toward opening a wall behind a shower valve, near a GFCI outlet, or toward the supply side of the plumbing, stop there. Pressurized water lines and bathroom electrical circuits are genuinely dangerous and belong to licensed trades. We’re being specific about this because a slow drain is a nuisance and a burst supply line is a different category of problem entirely.
Problem 4: Caulk and Grout Joint Failures
This is the most common bathroom complaint in Paradise and also the most fixable. The rule, in plain language: any joint where two surfaces meet at a corner gets caulk, not grout. Grout is rigid and it cracks at corners because the two surfaces move differently when the house expands and contracts. Grout in those joints is guaranteed to fail, and a crew that grouts a corner is a crew that doesn’t understand movement.
Watch for these signs:
- Grout cracking in a straight line at the floor-wall joint or wall-wall corners – that’s a grout-in-the-corner problem, not a sign of a cracked foundation.
- Caulk that has shrunk and pulled away from the joint, showing a gap.
- Mildew (black speckling) on caulk that won’t scrub off – the caulk has failed at the surface and needs replacement.
A homeowner can absolutely replace failed caulk. Here’s how:
- Use a utility knife to cut out the old caulk completely. Score both sides of the joint.
- Remove the residue with a caulk-remover product, then wipe with denatured alcohol.
- Let the joint dry completely – a full day in a bathroom with no fan running.
- Apply a 100% silicone caulk made for bathrooms. Push it in with a caulk tool, not your finger.
- Tool the bead, then leave it alone for the full cure time on the tube, typically 24 hours.
When a grout line in the middle of a field cracks, though, that’s different. Cracking that repeats in the same linear path after a repair is a sign of movement underneath, which points back to substrate. Middle-of-field cracks are worth a professional eye.
Step-by-Step: How to Diagnose a Bathroom Problem in Under 30 Minutes
This is the sequence we’d walk through with a homeowner on the phone. It’s designed to tell you what category of problem you have before you spend money.
- Walk the floor barefoot. Feel for movement at the joist lines and any spot that feels soft or spongy.
- Tap every tile with a coin, listening for a hollow thud versus a dull solid sound. Mark every hollow tile with painter’s tape.
- Fill the tub or run the shower for five minutes, then look for water at the base of the walls and at the floor-drain connection.
- Check the ceiling in the room below. Any staining means water has gotten through the assembly.
- Inspect every caulk joint at the floor-wall line and in the corners. Cracking or gapping is likely a grout-in-the-corner issue.
- Unscrew the drain strainer, shine a light in, and check for construction debris.
- Smell the room after it’s been closed for an hour. Mustiness that doesn’t clear usually means moisture behind the wall.
Write down what you find with photos of each spot. That documentation turns a vague complaint into something a contractor can act on immediately, and it’s the difference between a phone call that gets a diagnosis and a phone call that gets a callback.
How to Document a Problem and Get Action From a Contractor
Complaints that get resolved quickly share a few qualities. They’re specific, they’re documented, and they’re tied to a warranty clause. Here’s how to frame yours.
- Lead with the symptom, not the emotion. “Tile at the north wall of the shower is hollow and grout has cracked in a straight vertical line three times since installation” gets a response. “This job was terrible” gets you a defensive contractor and a slow reply.
- Include dated photos. Take the same photo every few days to show whether a crack is growing. A crack that doubles in width in a week is a structural issue; a stabilized hairline is cosmetic.
- Reference the specific guarantee. The written guarantee matters. Sawyer Remodeling Paradise backs every project with the 365-Day Done Right Promise: if it’s not done right, we make it right, backed in writing. We also stand behind the work with a free second visit if a repair fails. If your contractor’s guarantee says something similar, cite the clause. A guarantee is a contract term, not a courtesy.
- Ask for a written scope of the fix. The response should say what they’ll do, what they’ll remove, and how long it’ll take. If it doesn’t, ask again.
- Put it in writing, in one message. Email or text is fine. It creates a record and a date stamp.
In our experience, a written price before work starts is the thing that makes this conversation go smoothly, because everyone already knows what was approved. That’s why The Relay Visibility Guarantee puts a written price with a live arrival time and before-and-after photos on every job. When you have the original scope in writing, a complaint becomes a comparison, and comparisons resolve quickly. You can see how that process runs from Sawyer Remodeling Paradise home.
Which Problems Void a Manufacturer Warranty (and Which Don’t)
Homeowners are often told their warranty is void when it isn’t. The truth is that manufacturer warranties usually break down into coverage for the product itself and coverage for the installation, and they’re governed by different documents.
What typically voids a warranty:
- Performance recommendations ignored – installing a product outside the manufacturer’s stated method (thinset over a floor that exceeds deflection limits, tile installed with a mastic where thin-set is specified).
- Modification to the product after installation, like drilling through a waterproof membrane to hang a shelf.
- Use of incompatible accessories – an off-brand adhesive that the product manufacturer didn’t approve.
What typically does not void a warranty:
- A failed caulk joint. Caulk is a consumable and is treated as a maintenance item, so its failure doesn’t turn off product coverage.
- A cosmetic crack in grout.
- A fastener that backed out or a trim piece that loosened.
- Normal wear on a finish.
The practical difference for a homeowner is this: a product failure (a tile that delaminates, a valve that fails internally, a fixture finish that flakes) is a manufacturer issue. Installation error is a contractor issue. When you’re choosing brands, name-brand partners matter because the manufacturer actually has a warranty process to engage. That’s why we install KraftMaid and Wellborn cabinetry, Cambria and Caesarstone countertops, and Kohler and Toto fixtures, alongside GAF and CertainTeed on the exterior side. If you’re planning a project that reaches beyond the bathroom, our Kitchen Remodeling in Sunrise Manor page shows the same brand roster in a different room.
Common Mistakes to Avoid
- Grouting a corner. Grout is rigid; corners move. Grout in a floor-wall joint will crack, and the crack is a signal the joint was built wrong, not that the grout was bad. Caulk those joints.
- Sealing over a failing membrane. A tube of sealant over a leaking shower pan hides the water rather than stopping it, and it accelerates the damage behind the wall. Open the assembly and fix the membrane.
- Assuming a slow drain is hair. If the drain was slow from day one after a remodel, it’s almost certainly rough-in height or construction debris. A drain that was fine for months and then slowed is a different story.
- Skipping the tap test. Tapping every tile takes five minutes and locates problems before they turn into cracks. In Paradise, where the thermal swing on an exterior wall is hard on tile, this is worth doing after every remodel and once a year after.
- Fixing a symptom twice. If the same joint has failed twice, the cause isn’t the joint. Repeating a cosmetic repair on a structural problem is how a small issue becomes a five-figure one.
- Ignoring a ceiling stain in the room below. A stain below a bathroom is water that got through the assembly. It’s not a paint touch-up; it’s a leak with a source.
- Not putting the complaint in writing. A verbal complaint gets a callback maybe. A dated, photographed, written complaint gets resolved.
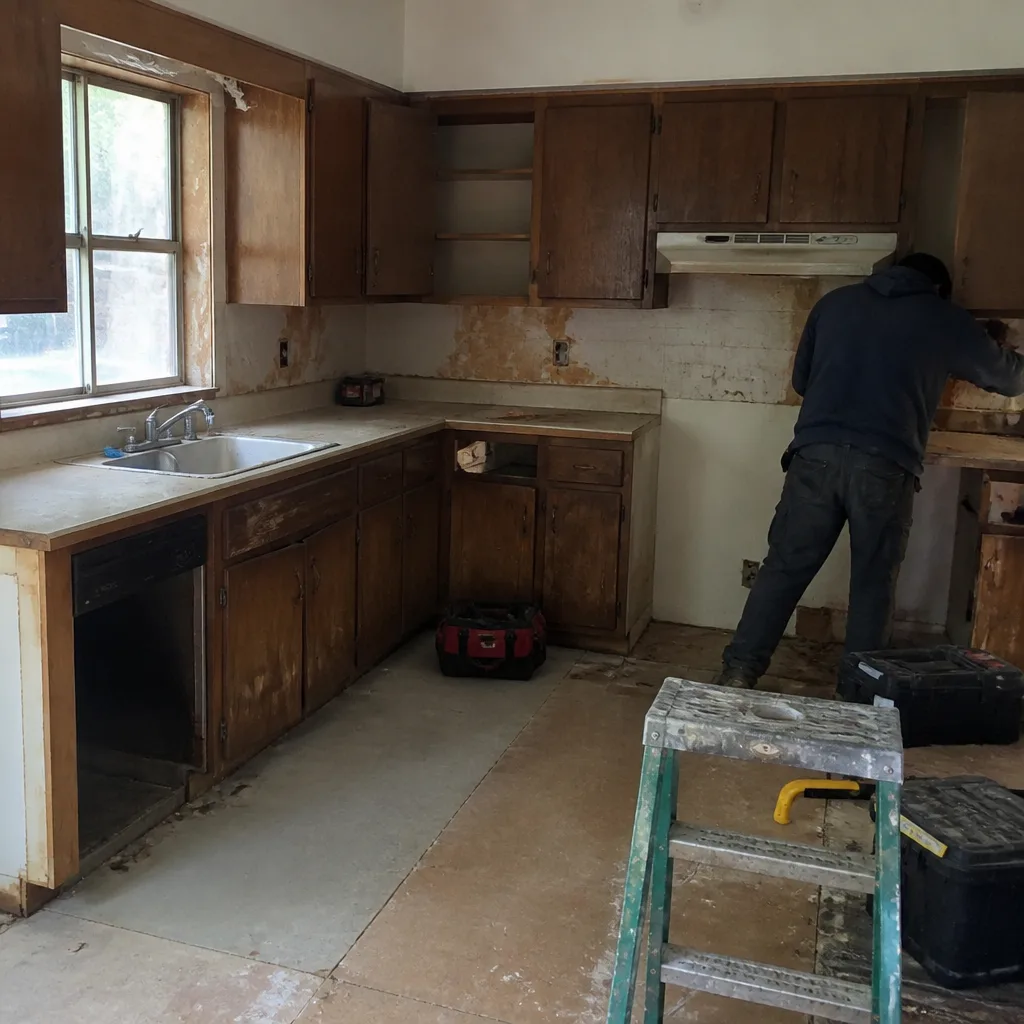
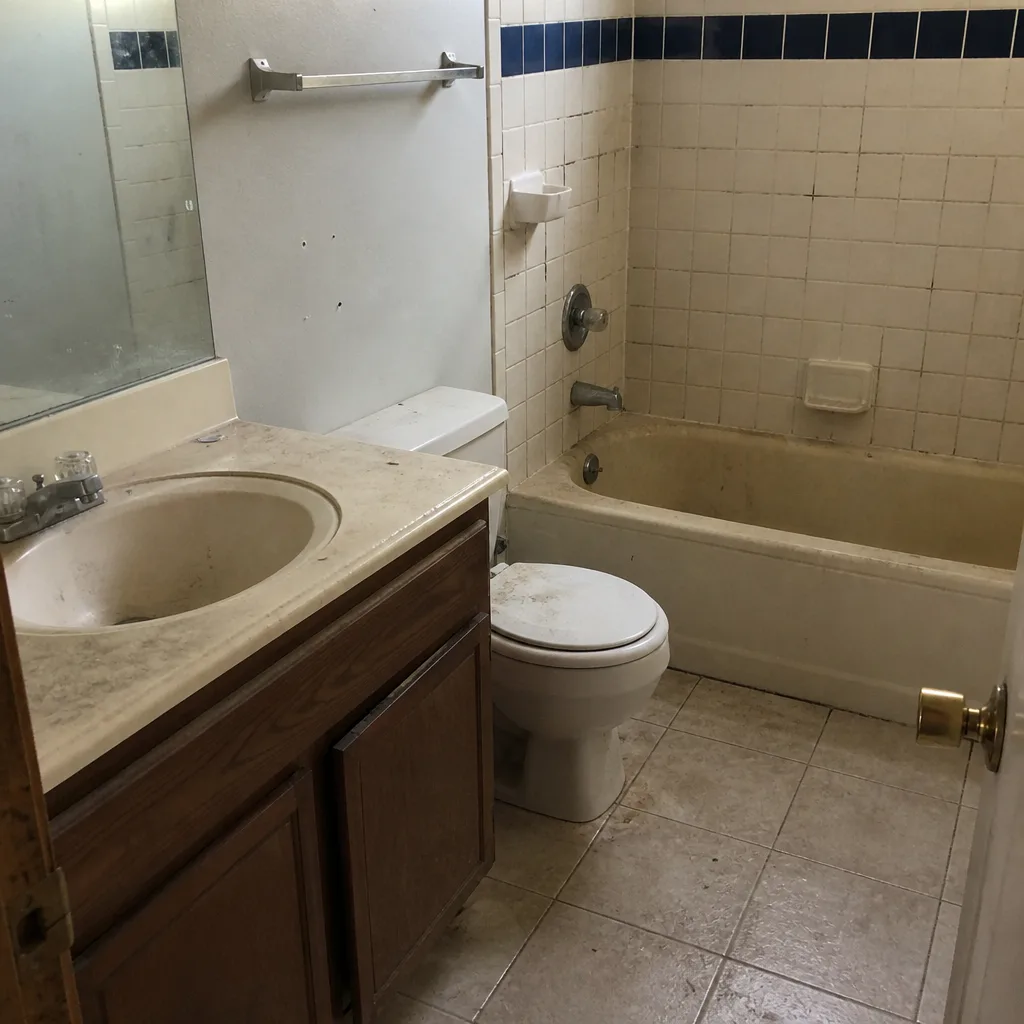
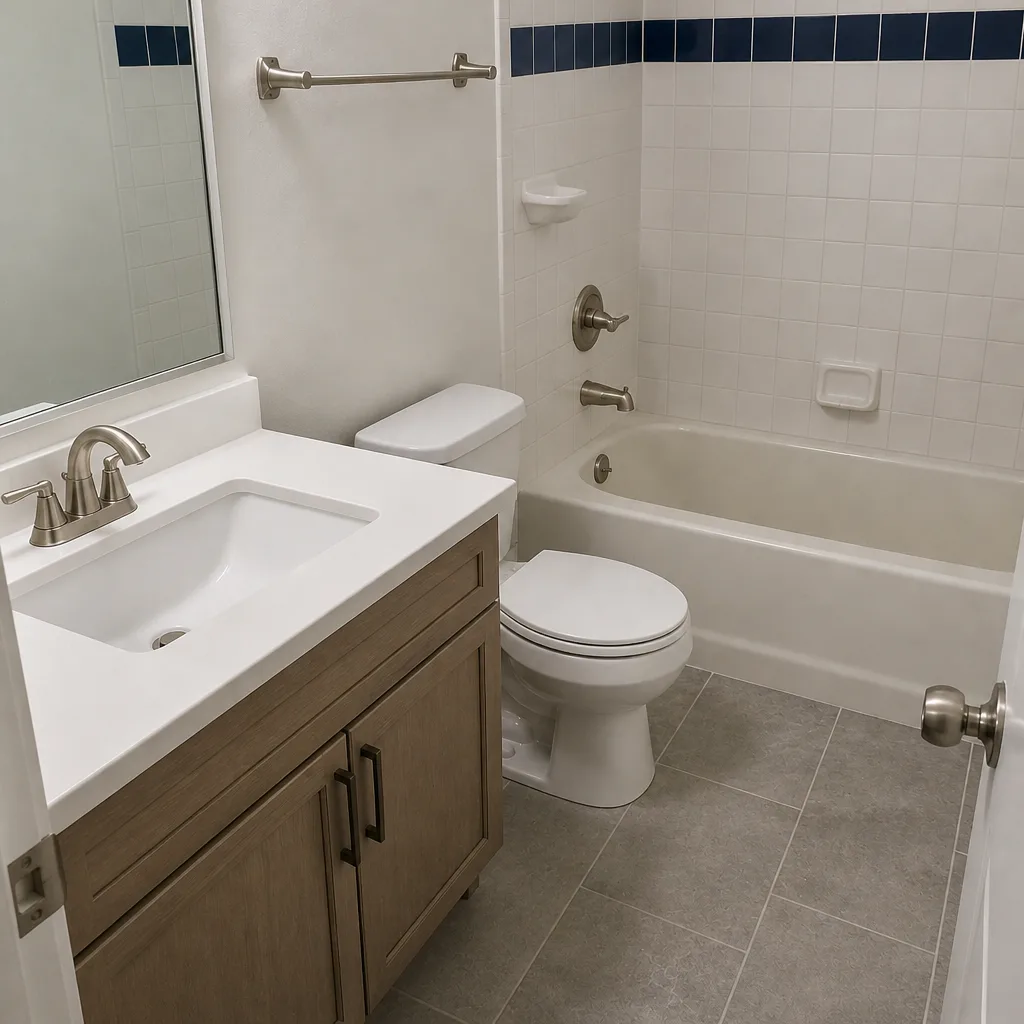
See the difference
 Before
 After
 Before
 After
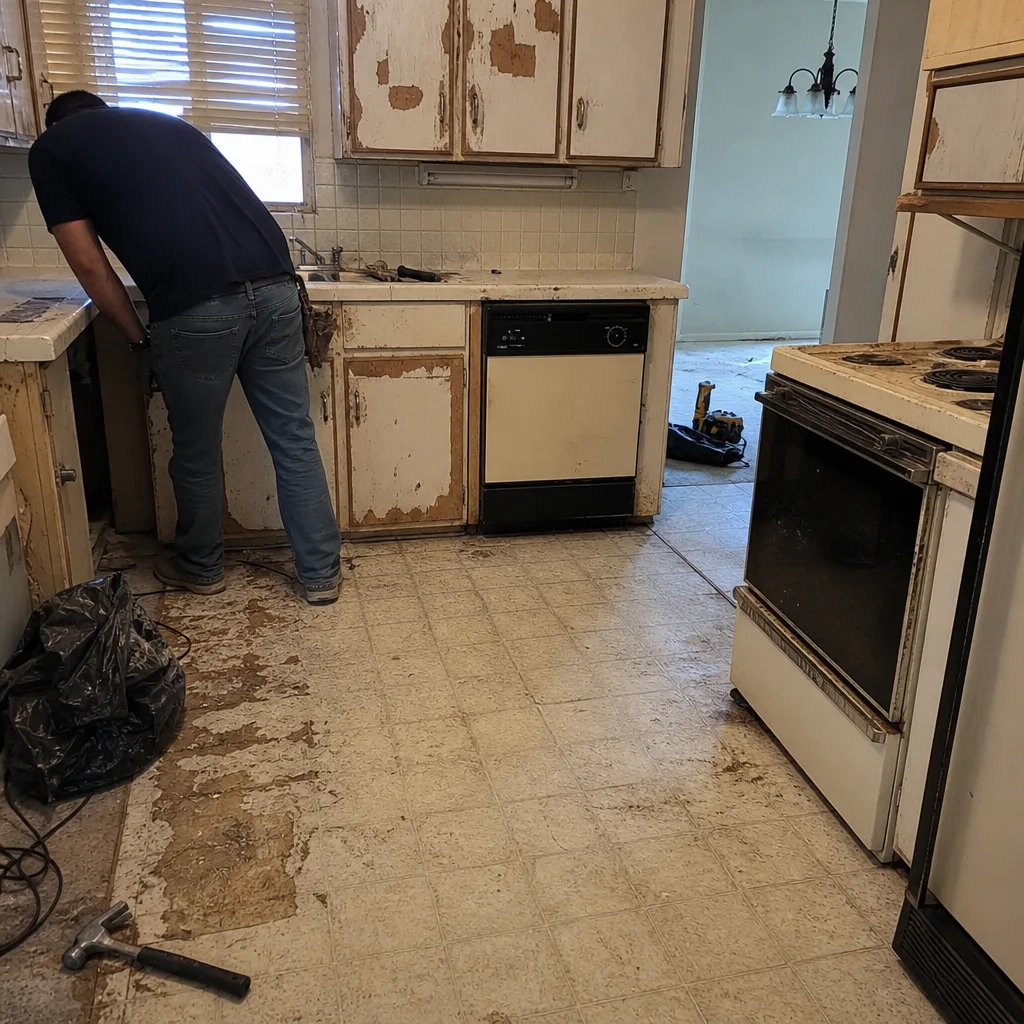 Before
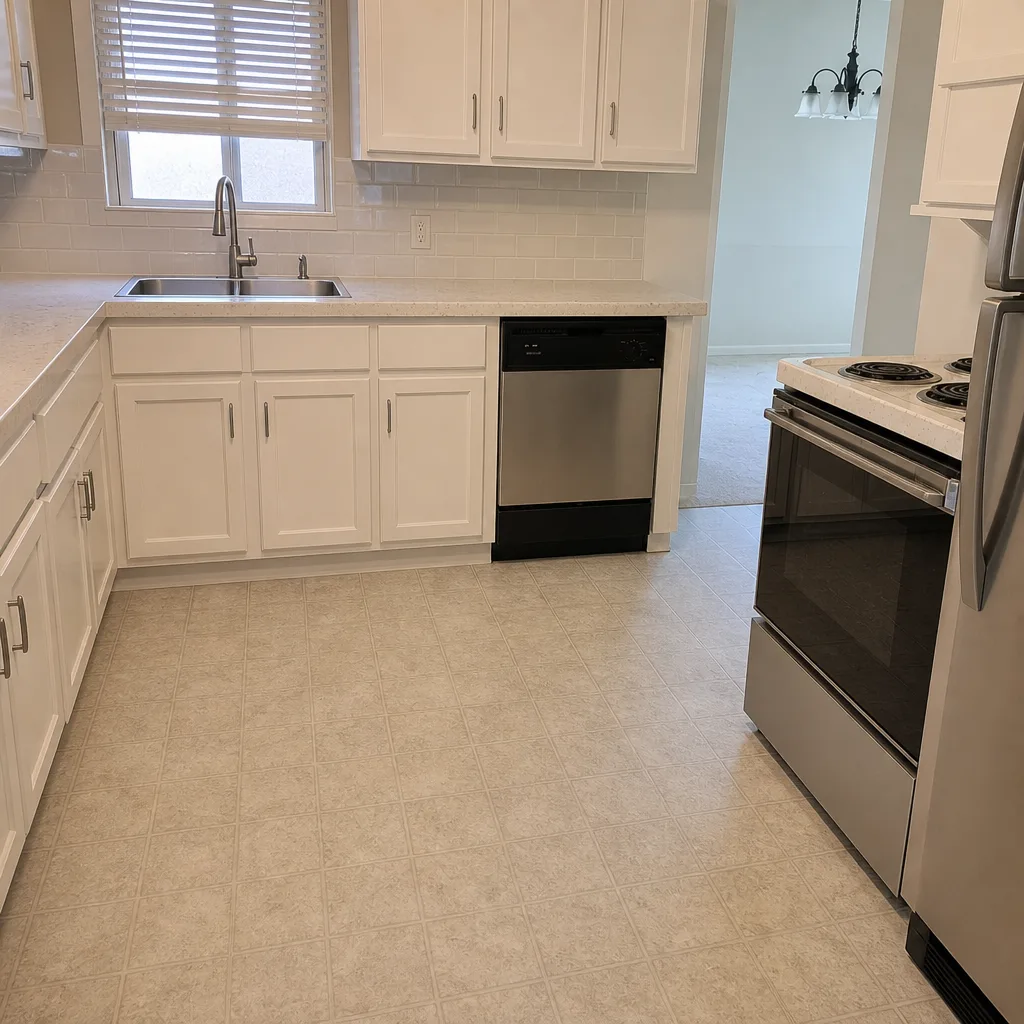 After
When to Call a Professional
Call a professional when water is involved behind the wall, when tile moves under your hand, when the same joint fails after repair, or when a drain has been slow since the remodel finished. Those are the four signals that the fix belongs in the assembly, not on the surface. Call immediately if you see water staining on the ceiling of the room below the bathroom. Also call when the fix reaches plumbing or electrical – a shower valve, a supply line, a bathroom outlet – because those are licensed-trade work and no amount of YouTube should change that. Sawyer Remodeling Paradise offers free estimates in Paradise, written before any work begins – call (866) 977-0526.
Frequently Asked Questions
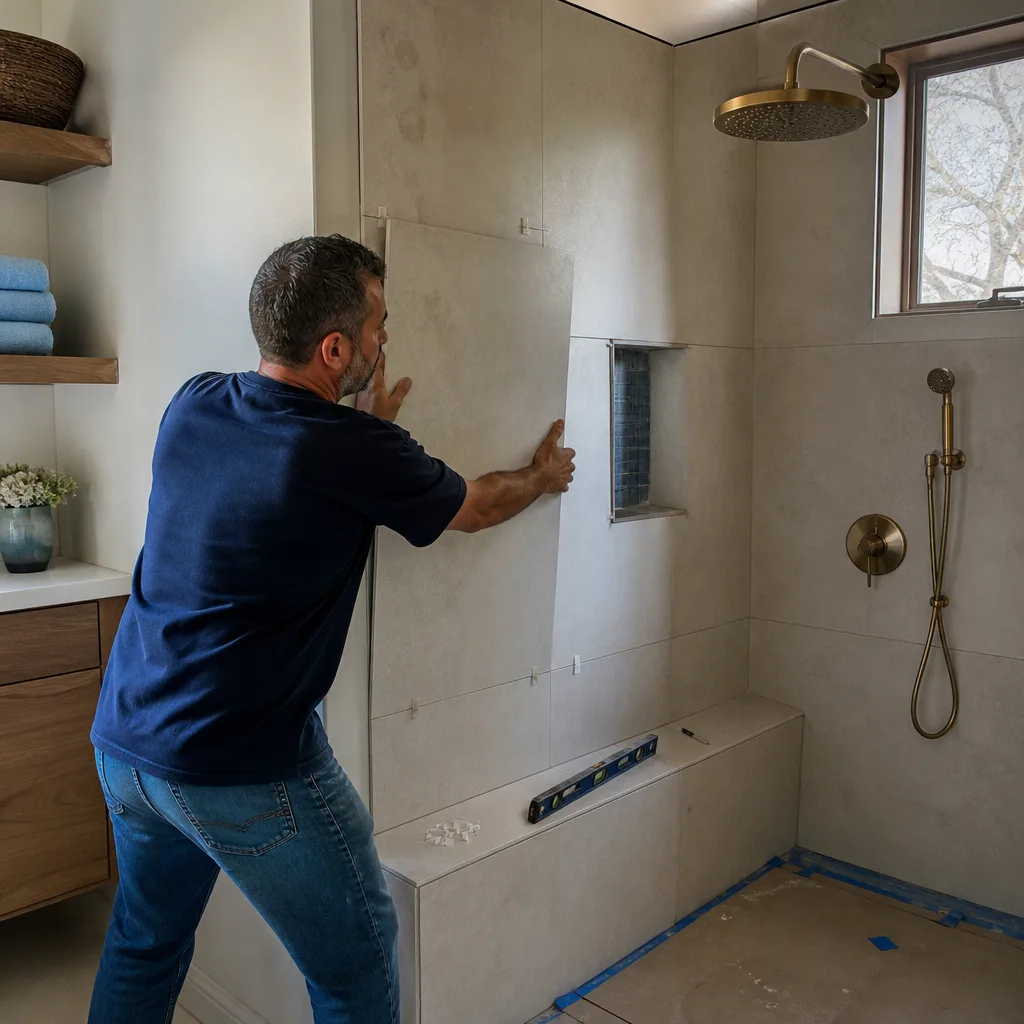
Grout cracking in a straight line at a corner or the floor-wall joint is usually a grout-in-the-corner problem, not a sign your house is shifting. Grout shouldn’t be in those joints at all; caulk belongs there because it flexes. If a crack appears in the middle of a field of tile and repeats after a repair, that points to substrate movement and needs a professional look.
Tap the tile and listen. A hollow, dull sound means the thin-set has separated and the tile is loose, which is structural. Grout that cracks once and stays put, or caulk that shrinks in a joint, is cosmetic and you can fix it yourself. Any water stain in the room below the bathroom is automatically structural.
Sometimes. If the drain was slow from the day the remodel finished, the cause is most likely construction debris in the trap or drain rough-in height – debris you can often clear from the strainer opening. If the line is clear and it’s still slow, the drain body was set too high or too low relative to the finished floor, and that needs the tile around it opened. Call (866) 977-0526 for a free estimate to confirm the cause before you spend money.
No. A failed caulk joint or a cosmetic grout crack is treated as a maintenance item, so it doesn’t void product coverage. What can void a tile warranty is installation outside the manufacturer’s stated method – like using the wrong adhesive, exceeding the floor’s deflection limits, or drilling through a waterproof membrane after install.
Put it in one written message with dated photos, the symptom described plainly, and a reference to the specific guarantee clause in your contract. “Grout at the north shower wall has cracked in a vertical line twice since install” with two photos gets a much faster response than a general complaint. A written guarantee is a contract term, and a documented claim against it is a different conversation than a verbal complaint.
Paradise homes see summer highs that push past 110°F and winter nights that dip toward freezing, so an exterior bathroom wall cycles through a large temperature swing every year. That expands and contracts the framing, the tile, and the caulk joints at a different rate than a milder climate would. Marginal substrate preparation and grouted corners that might have held for years in a stable climate will fail faster here, which is why the four transition points in this guide are worth checking on a schedule rather than waiting for a symptom.
The Bottom Line
Bathroom problems are predictable, and they cluster at four points: substrate, waterproofing membrane, drain rough-in height, and caulk joints. When something goes wrong, the fastest path to a fix is to identify which of those four is involved, decide whether it’s cosmetic or structural with a quick tap-and-feel check, and document it in writing with dated photos tied to your specific warranty clause. The work you can do yourself is the surface work – caulk replacement, debris clearing, and observation. Anything involving water behind the wall or a licensed trade belongs to a professional. If you’re in Paradise and you’ve got a problem that needs eyes on it, call (866) 977-0526 for a free estimate. A written price lands before any work starts, the number on the invoice is the number you approved, and every project is backed by the 365-Day Done Right Promise.
Written by the team at Sawyer Remodeling Paradise.