Last updated November 17, 2026








Free written scope consultation - allowances, timeline, and change-order rules on paper before a single trade is scheduled
Bathroom Remodeling Maintenance Schedule: What to Do and When
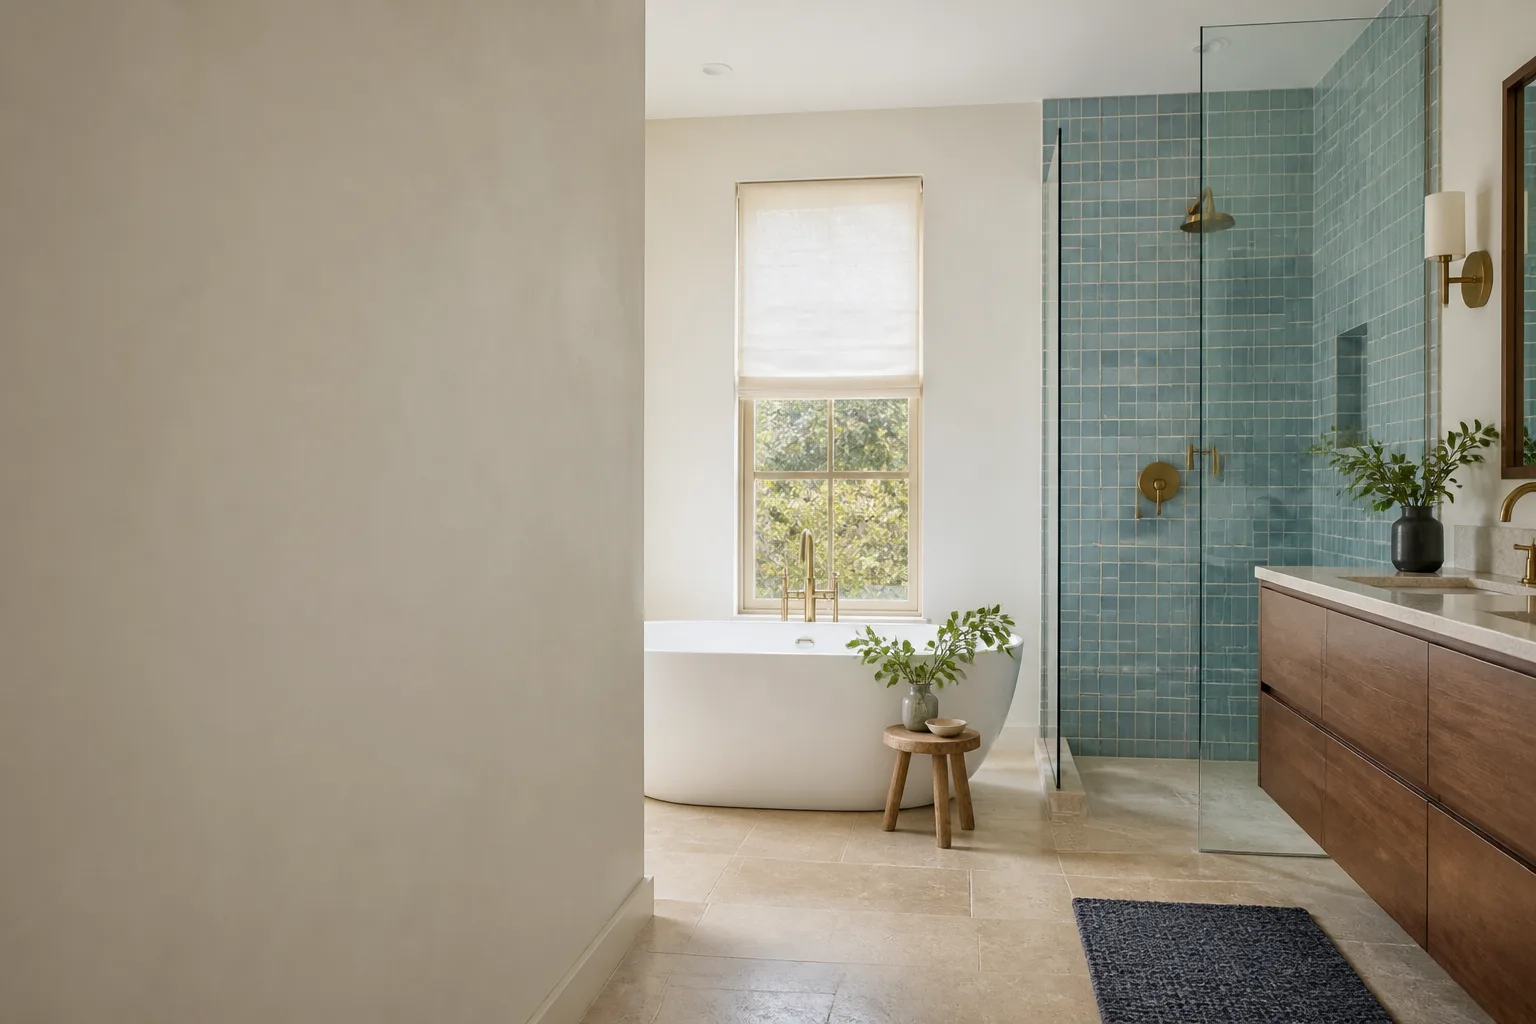
Most homeowners think the finish line is the day the tile gets grout. It isn’t. A freshly remodeled bathroom keeps moving for about a year, and the first 12 months are when a few small actions decide whether the room looks sharp in year five or starts showing problems by year three. Caulk at the tub-tile joint is the clearest example: it needs a look at the six-month mark not because the install was wrong, but because new construction settles. Nobody hands you a schedule at project close, so here’s the one we’ve built from doing this work in Paradise – the checkpoints, the local water issues, and the paperwork worth keeping.
Quick Answer
A bathroom remodel needs active maintenance at three points in the first year: a 30-day check (caulk, grout, drain flow, moving parts), a 6-month check (re-caulk where settling has opened gaps, deep-clean and descale fixtures, confirm the exhaust fan still moves air), and a 12-month walkthrough (reseal grout as needed, re-check waterproofing, file your warranty documents). After year one, you’re on an annual cadence plus quick seasonal touch-ups. The single biggest predictor of long-term performance is doing the 6-month caulk inspection – that’s the window most people miss.
Styles & brands we work with
- Kitchen remodeling
- Bathroom remodeling
- Home additions & ADU
- Roofing
- Windows & doors
- Driveway & pavers
- Fence
Table of Contents
- Why a New Bathroom Needs a Schedule at All
- The 30-Day Checkpoint: Catch Settling Early
- The 6-Month Checkpoint: The One That Matters Most
- The 12-Month Checkpoint: Seal, Inspect, File
- Grout Sealing Schedule by Grout Type and Traffic
- Hard Water in Paradise: Descaling Cadence and Warranty-Safe Products
- How to Inspect Your Own Waterproofing Without Tearing Anything Out
- What to Keep in Your Home File From the Remodel
Why a New Bathroom Needs a Schedule at All
A bathroom is one of the few rooms in a house where every surface is working against moisture at the same time. Tile, grout, caulk, glass, metal fixtures, and the subfloor underneath all expand and contract with the daily swing between a hot shower and a cool room. New construction amplifies that in the first year because the materials are still finding their resting position: wood framing dries further, thin-set cures completely, and caulk that looked perfect at handoff can open a hairline gap by month six.
That’s not a defect. It’s physics. Which is exactly why the schedule matters. A homeowner who inspects at 30 days, touches up at six months, and seals at 12 months spends a few hours and maybe $40 in supplies. A homeowner who skips all three tends to discover the same gap only when water has been seeping behind the tile for months – and now it’s a repair, not a tube of caulk.
In Paradise, this plays out faster than most places. The desert air is dry enough that wood and grout want to shrink, but the humidity inside a running shower is high. That daily swing between 10% ambient humidity outside and near-saturation inside pushes caulk and grout around more than a steady coastal climate would. If you’ve remodeled recently – or you’re weighing one – it’s worth understanding what a proper Bathroom Remodeling in Sunrise Manor install already accounts for, and what falls to you afterward.
The 30-Day Checkpoint: Catch Settling Early
Thirty days after the last tile is set, do a 20-minute walk-through. This isn’t about finding fault – it’s about catching the first round of settling before anything gets worse. Grab a flashlight and a roll of painter’s tape, and mark anything that looks off rather than fixing it on the spot.
- Caulk joints at the tub and shower base. Run your finger along the seam where the tile meets the tub, pan, or floor. Any spot that’s pulling away, cracking, or feels soft needs attention.
- Grout lines. Look for pinholes, hairline cracks, or lines that look darker than the rest – darker usually means moisture.
- Drain flow. Fill the sink and shower, then drain them. A slow drain this early points to debris from construction, not a clog you caused.
- Moving parts. Check the shower door hinges, the toilet supply valve, and every drawer and cabinet glide. Anything sticking or wobbling should be flagged.
- Exhaust fan. Hold a tissue up to the grille with the fan running. If it doesn’t hold, the airflow is weak.
- Toilet base. Rock it gently by hand. Any movement at all is worth a call, because a rocking toilet can mean a failing wax seal.
Write down what you find with the date. If something needs a fix, this is exactly the window when a written guarantee should cover it. Our 365-Day Done Right Promise exists so that a 30-day finding is a real conversation and not a shrug – if it’s not done right, we make it right.
The 6-Month Checkpoint: The One That Matters Most
If you only do one maintenance task in the first year, make it this one. At six months, inspect every caulk joint and touch up any that has opened. The reason is simple: the framing, drywall, and thin-set have finished their biggest seasonal movement by then, and the caulk that was applied during a cooler or more humid install week has now had time to stretch or shrink. Re-caulking at six months resets the seal before the second seasonal swing, which is when most failures actually start.
Here’s what to do at the six-month mark:
- Re-caulk the tub-tile and shower base joints with 100% silicone, not painter’s caulk. Silicone flexes and holds up to standing water; acrylic caulk will crack again within a year.
- Deep-clean the grout with a pH-neutral cleaner and a soft brush. Skip anything labeled “grout haze remover” unless you know your sealer – it can strip a fresh seal.
- Descale the fixtures. In Paradise the water runs hard, so a six-month descale is the norm, not the exception. See the hard-water section below for products that won’t void finishes.
- Re-check the exhaust fan and the bathroom door. Doors swell and stick as humidity shifts; a light sand and a touch-up on the strike plate fixes it.
- Look at the silicone around the glass shower panel. Any wrinkling or lift at the base is a re-seal before it becomes a leak.
New construction always moves slightly as it settles. That’s the whole reason the six-month check is on the schedule and the thirty-day check is only a first look.
The 12-Month Checkpoint: Seal, Inspect, File
At the one-year mark, the bathroom has been through four seasons and has finished most of its settling. This is when you transition from “new install” maintenance to “ongoing ownership” maintenance. Do it in a single afternoon.
- Reseal the grout if it’s cementitious or if you skipped the six-month touch-up. See the grout section below for timing by type.
- Re-check waterproofing using the non-destructive method in the next section.
- Inspect the exhaust fan ducting if it vents to the roof or a side wall. A plugged vent screen is common in desert homes where dust and lint accumulate.
- Check the toilet flange and supply line for any sign of moisture at the floor.
- File your paperwork – photos, product specs, and warranty documents – into a labeled folder or a cloud folder you’ll actually find. See the home-file section for what to keep.
After year one, the cadence drops to a yearly inspection and quick spot fixes. If you’d rather have a professional run the 12-month walkthrough the first time so you know what “right” looks like, we do free estimates and walkthroughs in Paradise. That’s also the moment to call (866) 977-0526 if you’d like a line-item list of anything that needs attention before it becomes a project.
Grout Sealing Schedule by Grout Type and Traffic Level
Grout sealing isn’t one interval for every bathroom. It depends on the grout type and how hard the room is used. Here’s the schedule we recommend to Paradise homeowners, based on what we see in real installs.
- Cementitious (traditional) grout, main bathroom, two or more users: reseal every 12 months for the first two years, then every 12-18 months.
- Cementitious grout, guest or low-traffic bath: every 18-24 months after the first-year reseal.
- Epoxy grout: essentially non-porous and does not need annual sealing. Wipe down and inspect for chips. Epoxy is a premium upgrade worth knowing about if you’re planning a remodel through a Sawyer Remodeling Paradise home project.
- Unglazed or matte porcelain tile: seal the tile itself, not just the grout, every 12 months if it’s in a wet zone.
- Natural stone (marble, travertine, slate): every 6-12 months with a stone-safe impregnating sealer. Marble in a shower is a high-maintenance choice; we tell people that plainly before they pick it.
A quick test before resealing: drip a few drops of water on the grout. If it beads up, the sealer is still working. If it soaks in and darkens the grout within a minute, it’s time. That’s a 30-second test that saves you both a needless reseal and a missed one.
The other variable is traffic – a bathroom off the primary bedroom with two adults and a teenager gets resealed on the shorter cycle. A hall bath used once a week can run longer. Match the interval to the room, not the calendar.
Hard Water in Paradise: Descaling Cadence and Warranty-Safe Products
Paradise water is hard, and that changes the maintenance math. Hard water leaves calcium and magnesium deposits on shower glass, on fixture finishes, and inside the showerhead and valve. Left alone, that scale etches finishes and can dull a premium surface – which is why the descaling cadence matters here more than it would in a soft-water city.
Our recommended cadence for Paradise homes:
- Shower glass and tile walls: squeegee after each shower, and deep-descale weekly if the water is very hard. A monthly vinegar-and-water soak on removable parts works for glass, but keep it off stone and off plated metal finishes.
- Fixtures (Kohler, Moen, Grohe are common picks): a descale every 30-60 days with a mild citric-acid cleaner is the safe range for most finishes. Check the finish care card that comes with the fixture – many brands specify which cleaners are approved.
- Showerhead and aerators: soak monthly in a 50/50 white vinegar and water bath for 15 minutes, then rinse. This is the single most ignored task in a Paradise bathroom.
- What not to use: abrasive pads, scouring powders, and bleach-based sprays on plated or brushed finishes. These void finish warranties on most premium fixtures – a real cost on a Kohler or Grohe valve trim.
The rule of thumb: match the cleaner to the finish, not the stain. A pH-neutral cleaner and a soft cloth handle 90% of what hard water throws at you, and they won’t eat through the finish that the manufacturer is backing.
How to Inspect Your Own Waterproofing Without Tearing Anything Out
You can’t see the waterproofing membrane behind the tile, but you can infer its condition from four visible signals. Check these once a year and after any heavy use.
- Grout color consistency. If one area of grout stays darker than the rest hours after a shower, moisture is getting behind it. That’s the earliest visible sign of a waterproofing issue.
- Caulk condition at the pan and tub. A caulk line that keeps failing in the same spot – even after you’ve re-caulked – often means water is moving behind it. That’s a call, not another touch-up.
- The floor outside the shower. Feel for soft spots, a lifting tile, or a baseboard that’s darkening. All three point to water traveling where it shouldn’t.
- Ceiling below, if the bathroom is upstairs. Any water stain or softness on the ceiling below the bathroom is a real leak, not condensation. That’s a same-week call.
One specific to the Southwest: in Paradise, dry air pulls moisture out of a bathroom fast, which can hide a small leak that would stain a ceiling elsewhere. That faster drying is why we recommend checking the pan caulk line and the grout near the corners more often here – the evidence disappears, but the moisture is still moving. If a walkthrough turns up something you can’t explain, our team has technicians with up to 21 years of experience who can read those signs from the surface, and you can arrange a General Contractor in Sunrise Manor inspection if the issue is bigger than the bathroom.
What to Keep in Your Home File From the Remodel
This is the part almost everyone skips, and it’s the part that saves you the most money on the back end. Everything you need to defend a warranty claim or match a replacement lives in a folder you’ll never open after month three unless you build it now. Here’s what to keep:
- Before-and-after photos of every angle, including the rough-in stage with the wall open. Those photos are how a future repair knows where the blocking and pipes are – and how any warranty conversation gets a fair start.
- Product spec sheets for every fixture, surface, and cabinet. Cambria and Caesarstone surfaces, KraftMaid and Wellborn cabinets, and Kohler and Toto fixtures all carry manufacturer documentation that changes the maintenance answer (and sometimes the warranty length).
- Warranty certificates for the finish, the fixtures, and the workmanship. Register the manufacturer warranties if the brand requires it, and file the certificate for the 365-Day Done Right Promise right next to the others.
- The written price and scope you approved before work started. It’s the reference document for what was actually included and what wasn’t.
- A maintenance log with the dates of each seal, caulk touch-up, and descale. This is what tells you when the next cycle is due and what you did last time.
Keep it digital if that’s easier – a cloud folder with subfolders for photos, specs, and warranties is enough. The point is that in three years when something needs attention, you’re looking at a record, not trying to remember which tile shop you used.
Common Mistakes to Avoid
- Skipping the six-month re-caulk because “it was just done.” New caulk applied at install will often open in the first six months as the framing finishes settling; touching it up at the six-month mark is what stops it failing at year two.
- Using painter’s caulk or acrylic in the wet zones. It’s easier to apply and it cracks within a year in a shower. Use 100% silicone and accept that it’s a two-tube job.
- Using abrasive cleaners on premium finishes. Scouring powder on a Kohler or Grohe trim will void the finish warranty in writing. Match the cleaner to the finish card.
- Ignoring the showerhead descale. Hard water in Paradise clogs a showerhead in six to twelve months if you never soak it. That’s a cheap fix you can skip only once.
- Throwing out the spec sheets and warranty cards at project close. Most people do, then can’t match a replacement tile or defend a finish claim later. File them the same day.
- Resealing grout too often. Resealing over a still-working sealer doesn’t help and can trap moisture. Do the water-drop test first, then decide.
- Waiting for a stain before checking below. In dry desert air, a leak can dry out before it stains. Check the pan caulk, grout color, and floor softness on the schedule, not just when you see a mark.
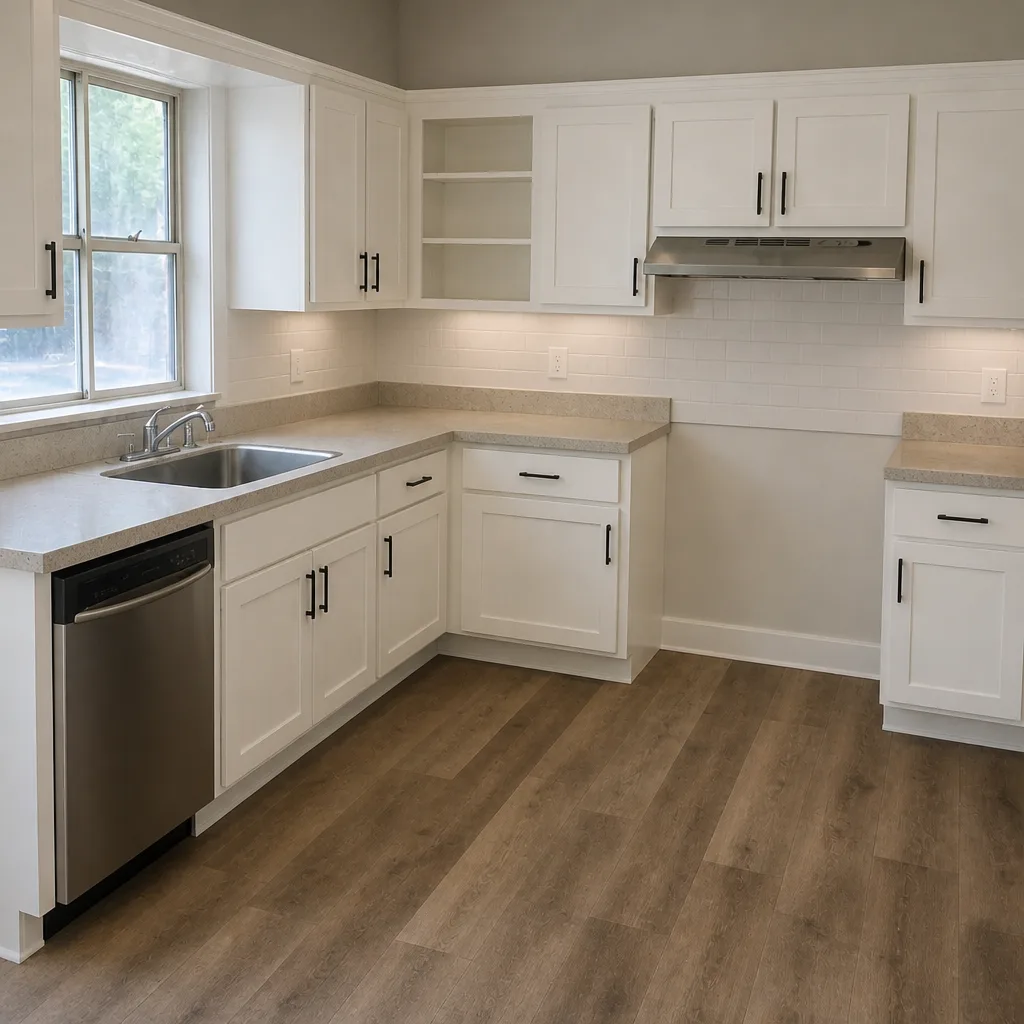
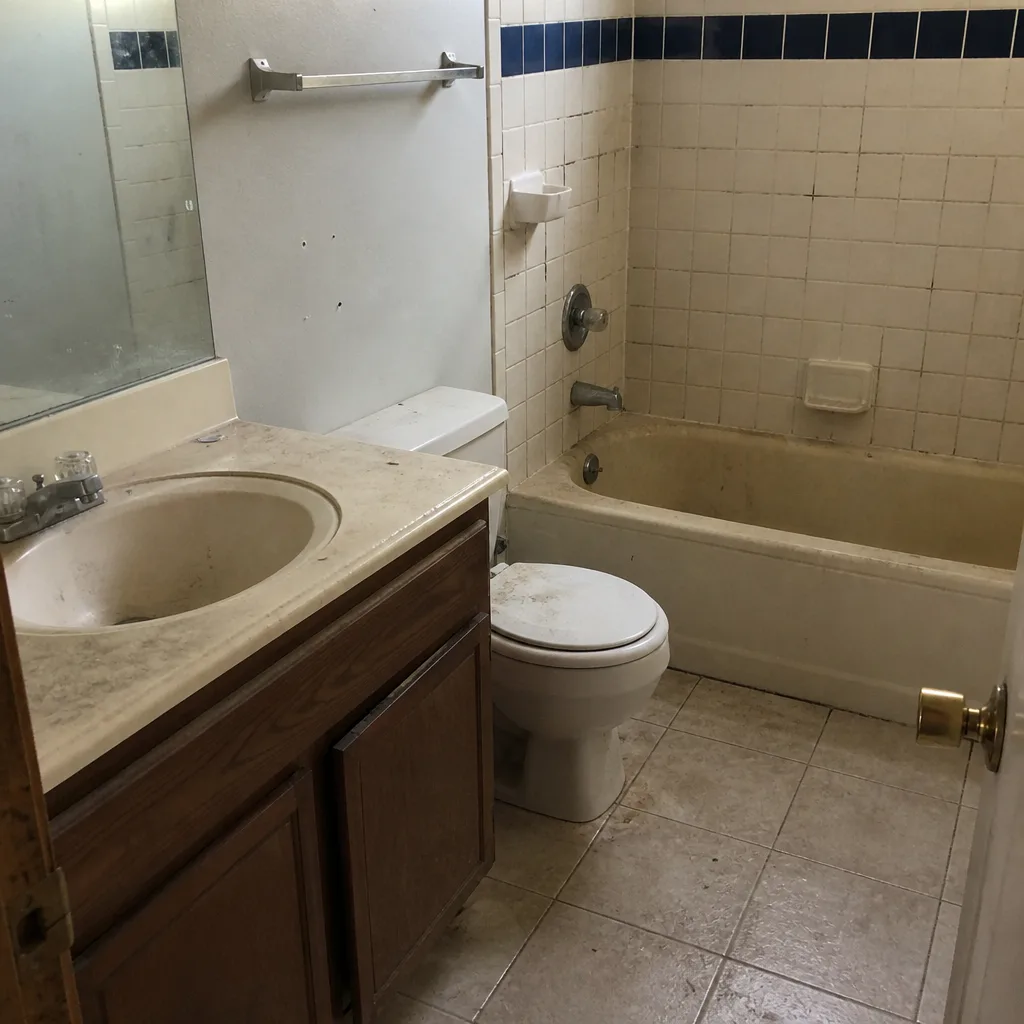
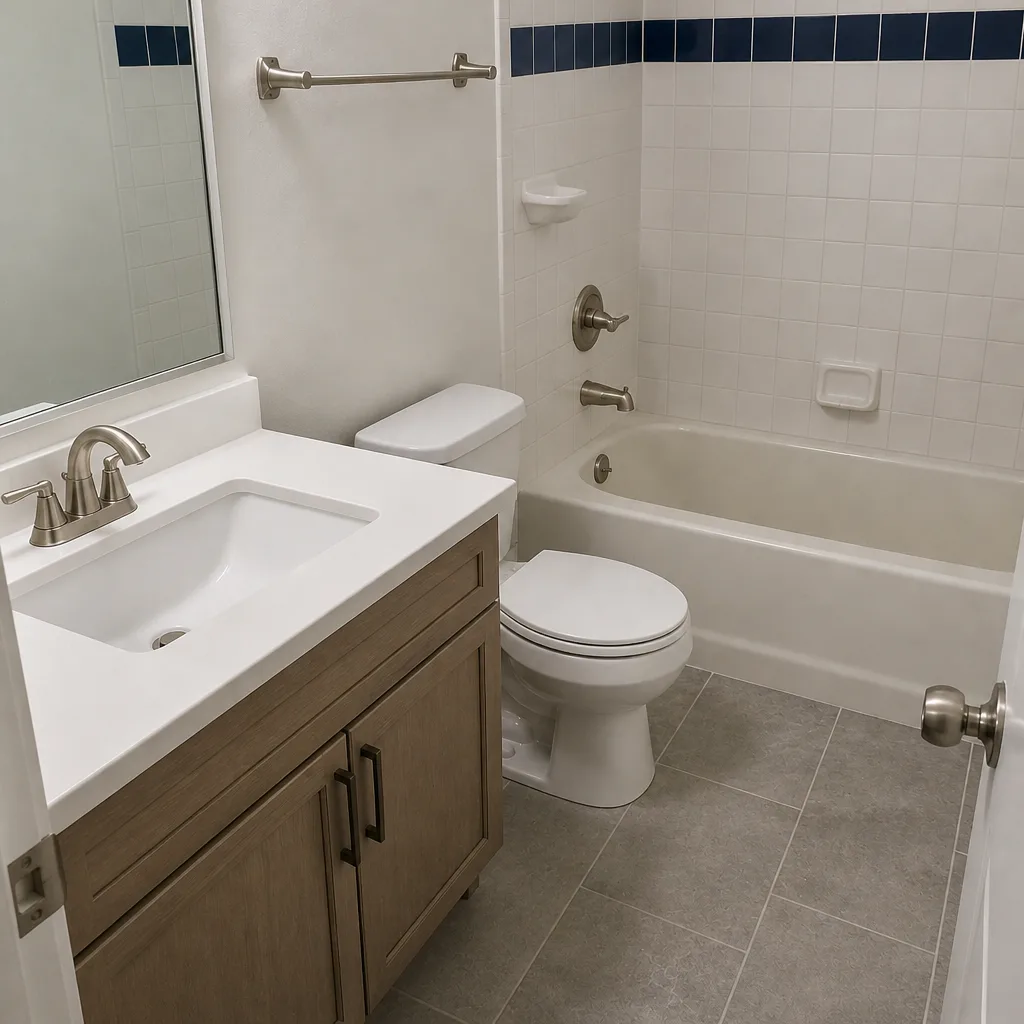
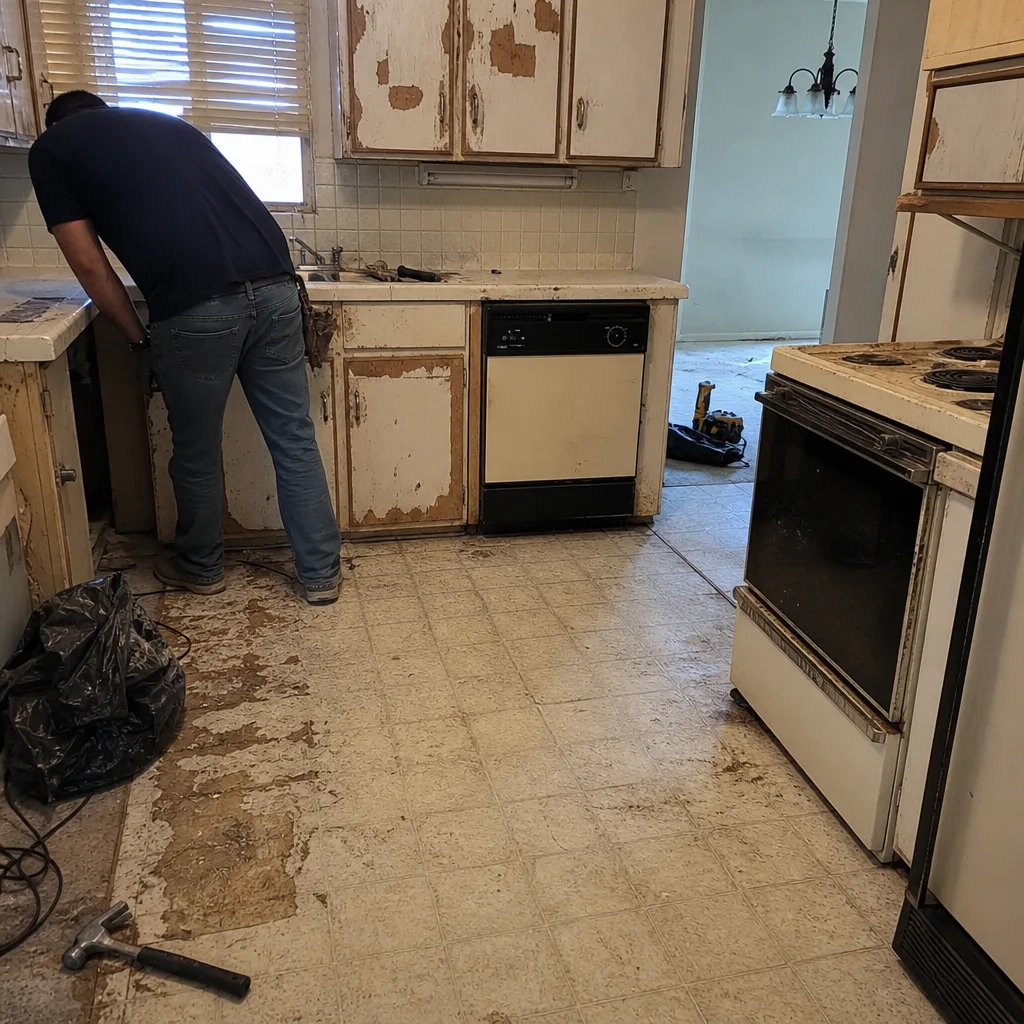
See the difference
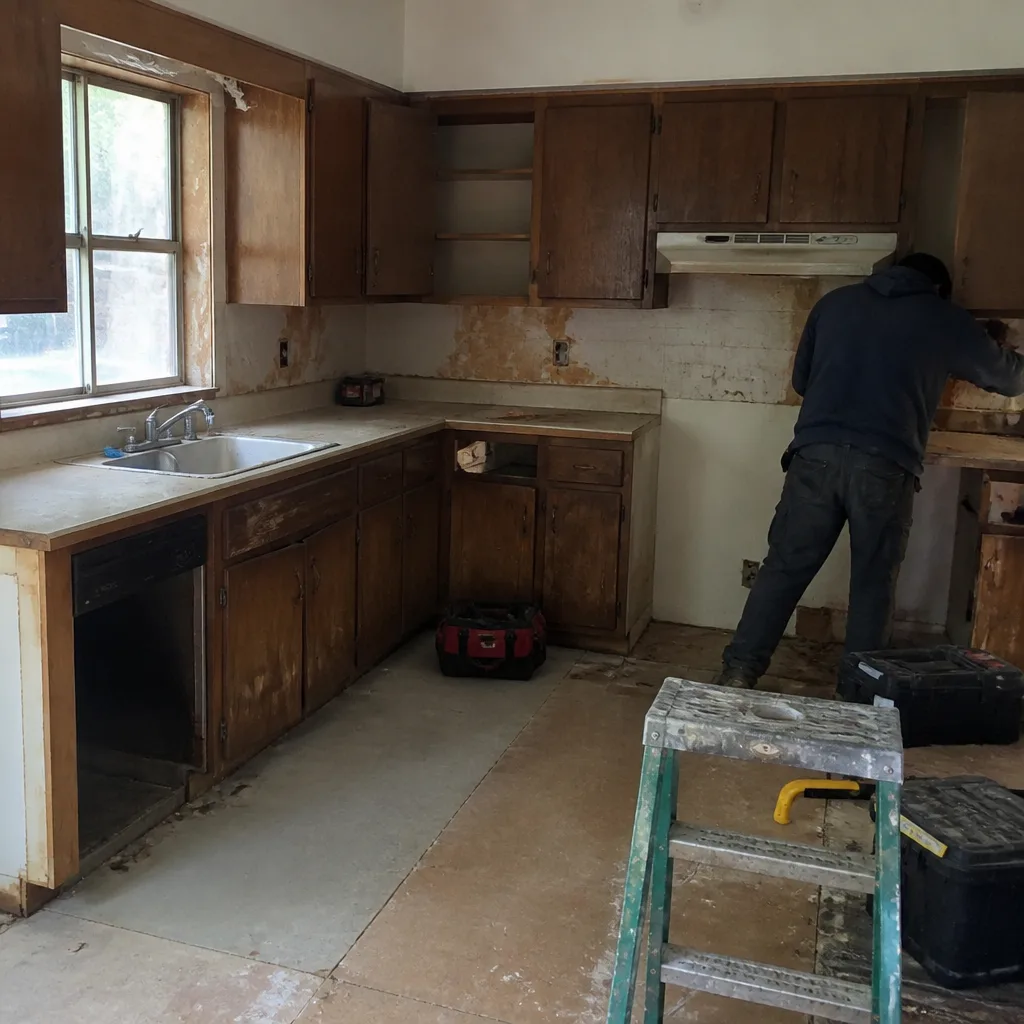 Before
 After
 Before
 After
 Before
 After
When to Call a Professional
Some problems belong to the schedule and some belong to a professional. Call us if a caulk joint keeps failing in the same spot after two touch-ups (that’s usually water behind it), if you see a water stain on the ceiling below the bathroom, if the toilet rocks at the base or shows any moisture at the floor, if grout color stays uneven hours after a shower, or if the exhaust fan no longer moves enough air to hold a tissue. Those are all signs of a real issue, not a maintenance item. Sawyer Remodeling Paradise offers free estimates in Paradise – call (866) 977-0526 and we’ll tell you whether it’s a tube of caulk or a repair. You’ll get a written price before any work starts, and the arrival window and photo updates are part of the deal.
Frequently Asked Questions
Reseal cementitious grout every 12 months in a main bathroom, and every 18-24 months in a low-traffic guest bath. Epoxy grout doesn’t need annual sealing. Do the water-drop test first: if water soaks in and darkens the grout within a minute, it’s time. Call (866) 977-0526 if you want a pro to check the seal during a free estimate.
Inspect caulk at 30 days and plan to touch up at 6 months. The first inspection catches anything that shifted during initial setup; the six-month touch-up resets the seal once the framing and thin-set have finished their biggest seasonal movement. New construction always settles slightly, so this is normal, not a sign the install was wrong.
Descale fixtures every 30-60 days in Paradise and soak the showerhead monthly in a 50/50 white vinegar and water bath. Use a pH-neutral or mild citric-acid cleaner and check the finish care card that came with your fixtures – abrasive cleaners and bleach sprays can void finish warranties on Kohler, Moen, and Grohe trim. Call (866) 977-0526 if hard-water scale has already dulled a finish.
Yes. Natural stone like marble, travertine, or slate needs sealing every 6-12 months with a stone-safe impregnating sealer, while glazed porcelain only needs it if it’s in the wet zone. Marble in a shower is a high-maintenance pick – it’s worth knowing that before you select it. A Kitchen Remodeling in Sunrise Manor project using the same natural stone follows the same rule.
Keep before-and-after photos including the rough-in stage, product spec sheets for every fixture and surface, warranty certificates, the written price and scope you approved, and a dated maintenance log. Register any manufacturer warranty the brand requires and file the 365-Day Done Right Promise certificate alongside. Most people throw these out at project close; that’s the mistake that costs them later.
Check four visible signals once a year: uneven grout color that stays dark after a shower, a caulk line that keeps failing in the same spot, soft or lifting floor tile outside the shower, and any ceiling stain below an upstairs bathroom. Those signs point to water moving where it shouldn’t. Call (866) 977-0526 if any of them show up – a free estimate will tell you if it’s a reseal or a repair.
The Bottom Line
A remodeled bathroom isn’t maintenance-free – it has a 12-month window where a few small actions lock in how the room performs for years. Do the 30-day inspection, re-caulk at 6 months, reseal and file at 12 months, and match your grout and hard-water schedule to the room rather than a generic calendar. In Paradise, the hard-water descale cadence and the six-month caulk touch-up are the two tasks that matter most. If anything seems beyond a tube of caulk, our team is a call away, and the estimate is free. Call (866) 977-0526.
Written by the team at Sawyer Remodeling Paradise.