Last updated November 17, 2026







Free written scope consultation - allowances, timeline, and change-order rules on paper before a single trade is scheduled
Home Renovation Warning Signs Every Homeowner Should Know
A hairline crack in drywall is usually nothing. A hairline crack that reappears two weeks after you patched it is a foundation or framing problem, and it will cost ten times more if the tile or cabinetry goes in before anyone diagnoses it. In our experience working Paradise homes, the most expensive remodels are the ones where a homeowner spent six months picking finishes for a bathroom that was quietly rotting underneath the old vinyl. This guide covers the warning signs inside your own house – not the contractor red flags everyone else writes about – that tell you a cosmetic job is about to become a structural one. You’ll learn what to look for, what each sign actually means, and how a written assessment with photos protects you before a single tool comes out.
Quick Answer
The renovation warning signs that matter most are recurring drywall cracks at consistent angles, soft or bouncy floors near toilets and tubs, white chalky residue on stucco or block walls, outlets that trip or flicker under load, and any previous patch that failed within weeks. Each points to moisture, movement, or an electrical system that needs scoping before new work covers it up. Get a written assessment with photos before demolition starts, so hidden damage found mid-project has a documented baseline.
Styles & brands we work with
- Kitchen remodeling
- Bathroom remodeling
- Home additions & ADU
- Roofing
- Windows & doors
- Driveway & pavers
- Fence
Table of Contents
- How Do You Tell a Cosmetic Drywall Crack From Structural Movement?
- What Do Soft Spots Near the Toilet Mean Before You Retile?
- Why Is There White Powder on Your Stucco or Block Wall?
- Which Electrical Signs Mean the Panel Needs Scoping First?
- Why a Written Assessment With Photos Protects You Mid-Project
- What Failed Previous Renovations Are Telling You
- Paradise Climate Signals That Accelerate Hidden Damage
- The Right Order to Investigate Before You Demo
How Do You Tell a Cosmetic Drywall Crack From Structural Movement?
Cosmetic cracks are random. Structural cracks repeat. That’s the rule we teach homeowners first, because it saves the most money. A crack that runs from a door corner diagonally up toward the ceiling and comes back after you patch it is following a stress line in the framing or foundation, and no amount of spackle will stop it. A crack that wanders, changes width, or sits alone in the middle of a wall is usually just settling or a dry patch of joint compound.
Here’s what to check and what it points to:
- Stair-step cracks in block or brick: they follow the mortar joints like a staircase. Almost always foundation movement, not a plaster problem.
- Vertical cracks wider at the top than the bottom: often a settling footing or a header that’s undersized for the span.
- Diagonal cracks radiating from door and window corners: stress concentration at openings. Common after a room addition was tied into an existing wall without a proper beam.
- Cracks that reappear within two to four weeks of patching: whatever is moving is still moving. That’s the signal to stop and diagnose.
- Cracks accompanied by sticking doors or windows: the frame itself has shifted. That’s a structural conversation, not a paint one.
Cracks you can usually ignore: hairline spiderwebs in ceiling corners, straight cracks along a drywall seam, and any crack under a quarter inch that hasn’t changed in a year. Measure the width with a pencil line and a date next to it. Check it in 30 days. If it’s grown, it’s diagnostic. If it hasn’t, it’s cosmetic.
One Paradise-specific note: this valley’s soil moves with our wet-dry cycles, and homes on slab near older irrigation lines show more recurring drywall cracks than homes on raised foundations. That doesn’t mean every crack is serious, but it does mean we measure before we dismiss.
What Do Soft Spots Near the Toilet Mean Before You Retile?
A soft spot in the bathroom floor near the toilet is almost never a tile problem. It’s a subfloor problem, and the cause is usually one of three things: a wax ring that failed years ago, a slow supply line leak, or a shower pan that’s been weeping into the framing. By the time the floor feels spongy, the plywood underneath has been wet long enough to delaminate, and in the worst cases the joist below it has started to soften too.
Here’s how we scope it before anyone picks a tile:
- Press the floor with a heel in a grid across the bathroom. Mark any spot that gives more than the surrounding area.
- Look at the base of the toilet and the caulk line. Dark staining, lifted caulk, or a rocking toilet are all pointing at the wax ring.
- Pull the toilet if the floor is soft around it. This is a 15-minute check that saves thousands. If the flange is rotten, you know before demo.
- Check the ceiling below, if there is one. Water staining on the drywall under a bathroom is the fastest confirmation you’ll get.
- Open the subfloor at the soft spot. You need to see the joist, not just the plywood, before you commit to tile.
If the subfloor is compromised, the retile becomes a subfloor replacement. That’s a real cost jump, and it’s the single most common hidden damage we find in Paradise bathroom remodels. Retiling over a soft subfloor will crack the new tile within the first year, guaranteed, and the warranty on the tile won’t cover it because the substrate was wrong from day one. Getting the subfloor inspected before finishes are selected is what keeps the project on a written budget instead of a surprise one.
If you’re planning a full bathroom remodel, our Bathroom Remodeling in Sunrise Manor team walks through the same subfloor check before any finish is chosen.
Why Is There White Powder on Your Stucco or Block Wall?
That chalky white residue on stucco, block, or the base of an exterior wall is called efflorescence, and it’s salt being pushed to the surface by water moving through the masonry. It’s a moisture signal, not a cosmetic stain. Some efflorescence is harmless – a new wall drying out will show it once and stop. Efflorescence that returns after you wash it, or that appears at the base of the wall in the same spot seasonally, is telling you water is getting in and staying in.
Where that water comes from, in order of how often we find it:
- Failed stucco sealant at penetrations: hose bibs, electrical boxes, and AC line sets. Small gaps, big moisture path.
- Missing kick-out flashing where a roof meets a wall. Water runs down the wall behind the stucco instead of away from it.
- Cracked stucco around windows: the caulk joint fails after years of our summer UV, and every rain event feeds it.
- Grading that slopes toward the house: common in Paradise neighborhoods built before drainage codes tightened, and it drives water into the footing.
- Irrigation lines spraying the wall for years without anyone noticing.
Why this matters before a remodel: if you’re adding a room, re-siding, or re-stuccoing as part of the project, the moisture has to be fixed first. Wrapping new materials over an active moisture problem traps it, and trapped moisture in this climate becomes mold fast because the wall cavity stays warm. Our General Contractor in Sunrise Manor team treats efflorescence as an inspection trigger, not a paint job, and we recommend the same for any homeowner in Paradise planning exterior work.
The fix is rarely glamorous. Re-caulk the penetrations, correct the flashing, re-grade the soil line, and re-check in 60 days. That sequence costs a fraction of what mold remediation and re-stucco together cost.
Which Electrical Signs Mean the Panel Needs Scoping First?
If a room’s outlets trip the breaker, flicker when a heavy appliance runs, or feel warm to the touch, the panel needs to be scoped before you add a single new circuit. This is the electrical warning sign homeowners skip most often, because the symptom is intermittent and the work seems unrelated to the remodel. It isn’t. Adding a new kitchen or bathroom circuit to a panel that’s already over capacity is how you turn a $30,000 remodel into a service upgrade mid-job.
What to look for, and what each one means:
- A breaker that trips repeatedly on the same appliance: the circuit is undersized or the breaker is failing. Diagnose before adding load.
- Lights that dim when the AC kicks on: loose neutral at the panel, or a service that’s at its limit. This is an electrician check, not a bulb check.
- Warm outlets or switch plates: loose connection generating heat. Stop using that circuit and have it inspected.
- A panel with no open slots: common in older Paradise homes. Any new circuits require either a panel replacement or a subpanel, and that’s a real line item in the budget.
- Fuses instead of breakers, or a panel with no label: both need a licensed electrician’s assessment. Don’t let anyone guess at the capacity.
- Aluminum branch wiring in a pre-1980 home: needs a qualified electrician’s evaluation before any circuit is modified.
Electrical work and panel work are the two places we tell homeowners flatly not to DIY. The risk isn’t a mistake you can undo, it’s fire and shock. Get a licensed electrician to scope the panel, put the scope in writing, and add it to the project budget before demolition. Our technicians have up to 21 years of experience, and we still don’t touch a panel – we bring in the electrician and put the finding in writing.
Why a Written Assessment With Photos Protects You Mid-Project
A written assessment with photos is your insurance against the mid-project “we found something” phone call. When a contractor opens a wall and finds rot, termites, or a framing problem, everyone agrees it has to be fixed – the argument is whether it was visible before the estimate. A written assessment with dated photos answers that question before the debate starts, and it’s the one document that lets a homeowner negotiate without leverage loss.
Here’s what a useful written assessment contains:
- Dated photos of every visible sign before demo, with the location noted (room, wall, or exterior face).
- Notes on each finding in plain language: what it is, what it points to, and what it does not yet prove.
- A scope recommendation that separates “must fix before work” from “monitor” from “cosmetic.”
- Written pricing for the findings you’re fixing now, and a range for the ones that only open up at demo.
- A contingency line if there’s hidden-risk work involved, so the number on the invoice stays inside what you approved.
This is where The Relay Visibility Guarantee earns its place. Your written price lands before work starts, you get before-and-after photo updates on every visit, and your arrival time is tracked live – so what’s found mid-project is documented, not discovered. That’s the difference between a change order you can hold a contractor to and a surprise you can’t. On top of that, the 365-Day Done Right Promise means if something found and fixed in month two fails in month eight, we make it right under the written guarantee. Sawyer Remodeling Paradise home starts every project with that assessment in your hands first.
What Failed Previous Renovations Are Telling You
If the last remodel is already failing, the next one is at higher risk of the same problem. A patch that failed in two weeks, tile that’s lifting in a bathroom redone five years ago, or a grout line that keeps cracking along the same run all point to a substrate or movement issue that was never solved. The failure isn’t the last contractor’s workmanship – it’s the cause no one diagnosed.
Before you redo the failing area, ask three questions:
- What was installed, and over what substrate? Caulk over a failing waterproof membrane fails in a year. Tile over a soft subfloor cracks. Get the answer before you pay for round two.
- Was it permitted? Unpermitted previous work is a real risk. A general contractor who pulls permits and passes inspections on your project protects you at resale.
- What does the current condition tell you? A grout line that fails in the same 4 feet every time is following a joint or a movement line. That’s diagnostic.
We’ve seen this pattern a lot in Paradise homes that got a quick flip treatment during the last market cycle: nice finishes, no substrate work underneath. The homeowner buys it, the work looks great for a year, and by year three the bathroom floor is soft again. If the previous work is failing, treat the redo as a diagnostic job first and a cosmetic one second. It costs more upfront and far less overall.
Paradise Climate Signals That Accelerate Hidden Damage
Paradise’s climate does two things to houses that most renovation guides ignore: it dries materials fast, and it delivers intense monsoon rain in short bursts. That combination makes two warning signs more important here than in a wetter, milder climate.
The first is stucco moisture. Stucco in Paradise goes through hard UV summers and then a monsoon season, and the caulk joints at penetrations fail from that cycle. That’s why efflorescence that comes back after the first rain of the season is a strong signal – it’s not an old stain, it’s an active path. If you’re planning exterior work, re-caulk every penetration and check every kick-out flashing before new material goes on.
The second is slab and footing movement. Our soils expand and contract with irrigation and rain, and that shows up as recurring drywall cracks and sticking doors on older Paradise homes. Measure the cracks with a pencil and a date before you demo. If the crack has grown between visits, the movement is still happening, and foundation or framing scoping comes before finish work.
Both of these are why the assessment phase isn’t optional in Paradise. Climate-driven damage that stays hidden for one more season is the most common reason a cosmetic remodel in Paradise turns into a structural one mid-project.
The Right Order to Investigate Before You Demo
Homeowners usually schedule inspections in the wrong order: they pick finishes first, then find out the subfloor is rotten, then go back and re-pick. Here’s the order that protects both the budget and the timeline.
- Walk the house and list the warning signs from this guide. Mark each one’s location and take a photo with your phone, dated.
- Get the hidden envelope checked – subfloor, framing, moisture, panel – before any finish is selected. This is the step that most changes the project.
- Write the scope and the price in writing, with a contingency line for anything that could open at demo.
- Only then pick finishes, with the material partner roster in hand. Cambria, Kohler, GAF, and James Hardie products all come with manufacturer backing, but the backing only applies if the substrate underneath was done right.
- Schedule the work in the right sequence: structural and moisture first, then rough electrical and plumbing, then surfaces, then finish. Cabinet and tile installation always comes last.
Skipping step two is the single most expensive shortcut we see. A Kitchen Remodeling in Sunrise Manor project that starts with cabinet selection and never checks the subfloor or the panel is a project that runs over. Every time.
Common Mistakes to Avoid
- Patching a recurring drywall crack and calling it done. If it came back in two weeks, it will come back again, and it will take the paint with it. Diagnose the movement first.
- Retiling over a soft bathroom floor. The tile will crack within a year, and the warranty won’t cover it because the substrate was wrong. Get the subfloor opened and inspected first.
- Washing off efflorescence and moving on. In Paradise, the chalky residue coming back after the first rain is an active moisture signal, not a stain. Fix the caulk and flashing before re-stuccoing.
- Adding circuits to a panel that trips under load. A $400 panel scope saves a $4,000 mid-project upgrade. Get the electrician’s written finding before you commit to new loads.
- Starting demo before a written assessment. Hidden damage found later without dated photos turns into a change-order fight. With photos, it’s a documented fact everyone can price against.
- Trusting finishes over substrate. Name-brand cabinetry and countertops still fail if the wall or floor underneath is moving. The substrate is the work; the finish is the reward.
- Ignoring a previous flip renovation that’s already failing. If the last remodel is cracking, the redo is a diagnostic job first and a cosmetic one second. Assume the cause is still in the house.
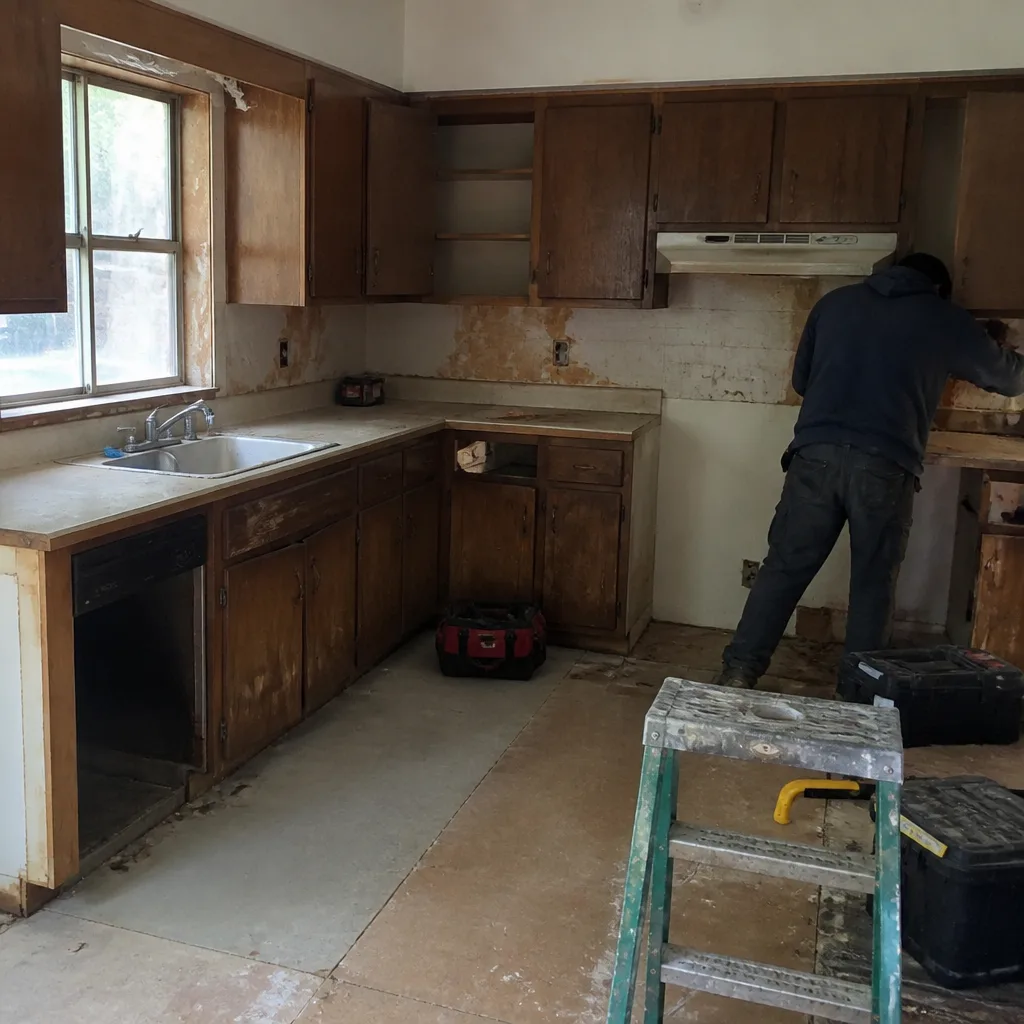
See the difference
 Before
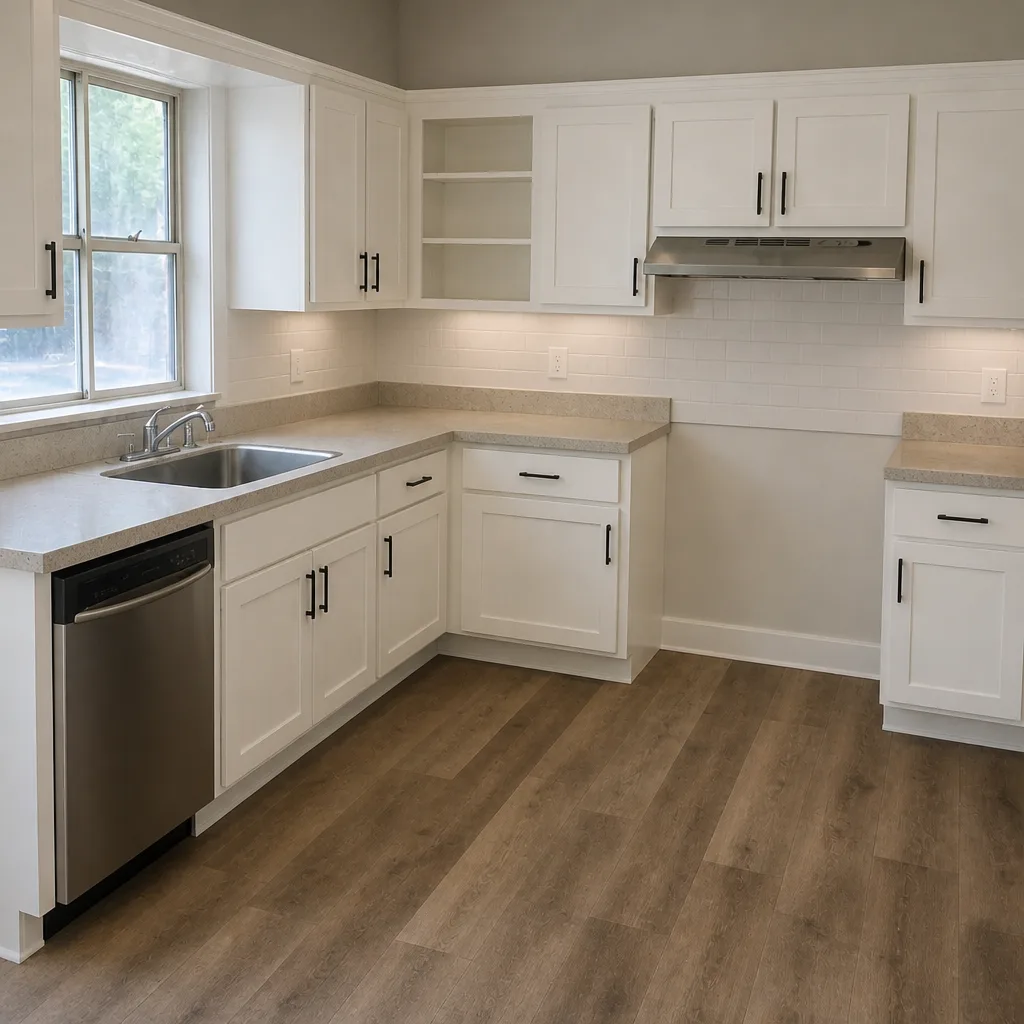 After
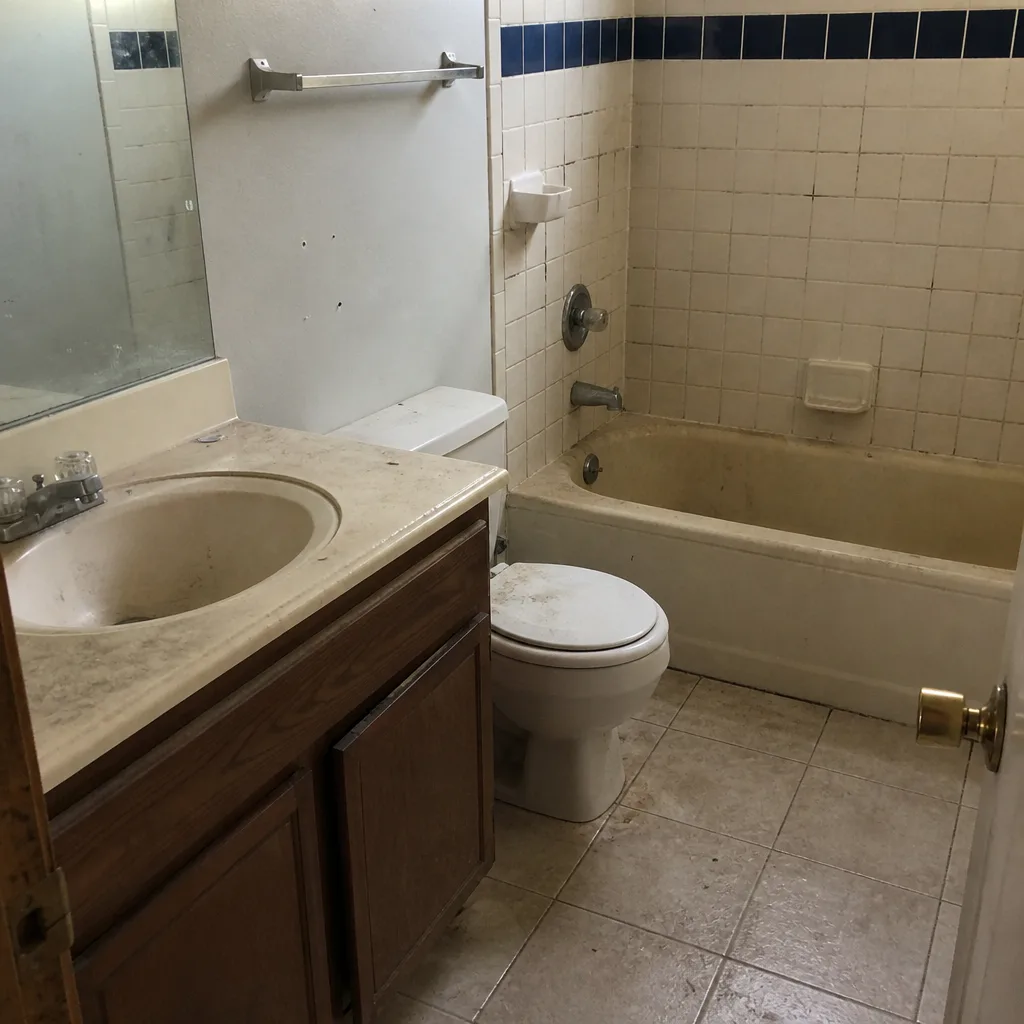 Before
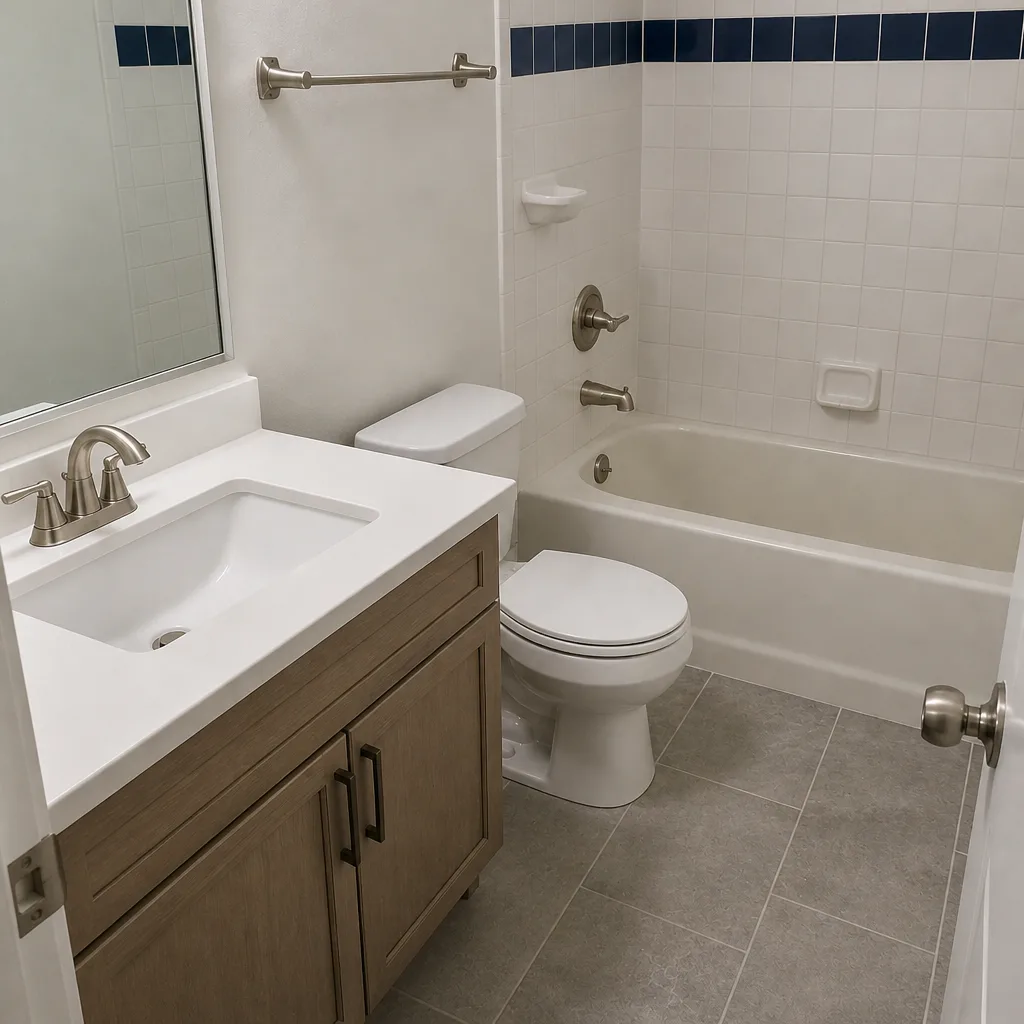 After
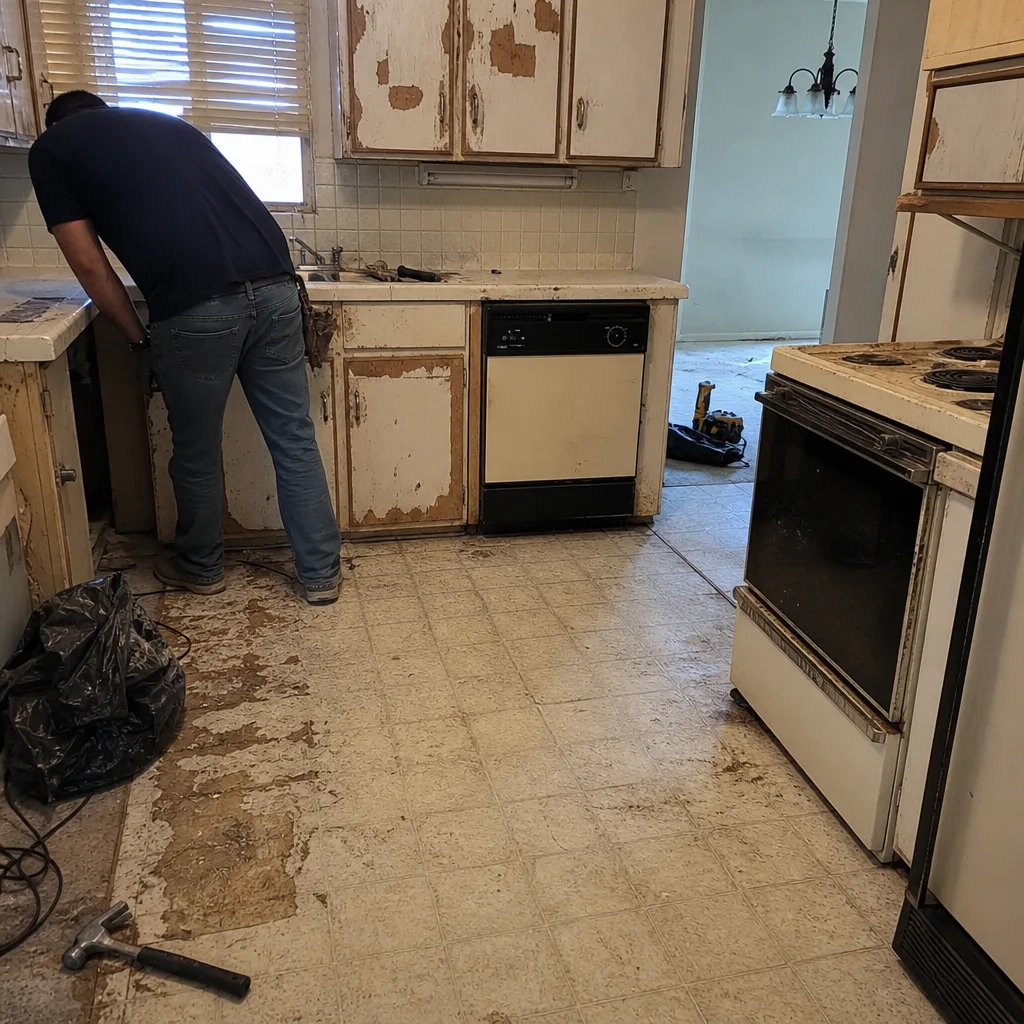 Before
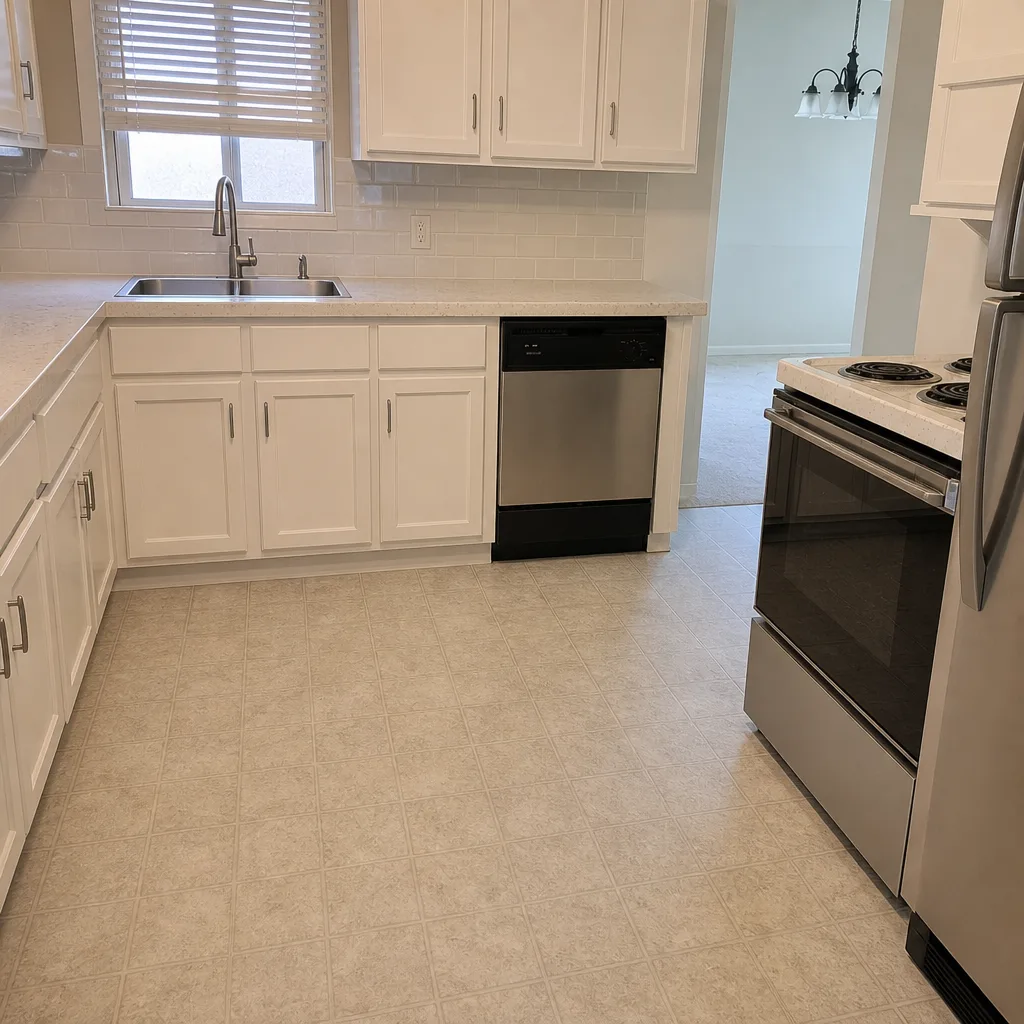 After
When to Call a Professional
Call a professional the moment you have any of these: a drywall crack that has reappeared after patching, a floor that gives underfoot near a toilet or tub, recurring efflorescence on exterior stucco or block, outlets that trip or flicker under load, or a previous renovation that’s failing within five years. These are not the signs you fix with paint and caulk. They’re diagnostic signs, and the cost of getting the diagnosis in writing is far below the cost of covering them up. If your project involves any of them, get the assessment before you demo. Sawyer Remodeling Paradise offers free estimates in Paradise, and we’ll put our findings in writing with dated photos so what’s found mid-project is documented, not argued. Call (866) 977-0526 to schedule yours.
Frequently Asked Questions

A crack that reappears within a few weeks of patching, runs diagonally from a door or window corner, follows stair-step patterns in block or brick, or is accompanied by sticking doors is likely structural and should be scoped by a professional. A random hairline crack that hasn’t changed in a year is usually cosmetic settling. Measure the width and date it, then re-check in 30 days – growth is the tell.
Not always, but in our experience it usually does, and it’s most often a failed wax ring or an old supply line leak near the toilet. The tile itself is rarely the problem. Pull the toilet, look at the flange, and open the subfloor at the softest point – retiling over it will crack the new tile, and the tile warranty won’t cover a substrate problem.
Efflorescence is the white, chalky salt residue left when water moves through masonry, stucco, or block. It’s not dangerous on its own, but it’s a moisture signal. If it returns after washing, or comes back seasonally in Paradise after the first rain, water is entering the wall and staying there – and trapped moisture in this climate turns into mold quickly. Fix the caulk and flashing, re-grade the soil line, and re-check in 60 days.
Any time outlets trip repeatedly, lights dim when the AC starts, switch plates feel warm, the panel has no open slots, or the home has aluminum branch wiring or fuses. Adding new circuits to a panel already at capacity is how a budget gets a surprise service upgrade. Get a licensed electrician’s written finding before demolition. Call (866) 977-0526 for a free estimate on the remodel itself.
A written assessment with dated photos answers the mid-project question of whether hidden damage was visible before the estimate. When rot or framing issues open up at demo, the photos establish the baseline and the written scope keeps the invoice inside what you approved. Without that, the change-order conversation becomes a fight you lose leverage in. It’s the single cheapest form of protection on a remodel.
The written price you approve is the price you pay for the scope you approved. Hidden damage that only opens at demo is where the contingency line matters, and it’s why the pre-work assessment is so important. If a finding genuinely couldn’t be seen before demo, the written scope and dated photos keep the change transparent. Get the written price before any tool comes out – call (866) 977-0526 for a free estimate.
The Bottom Line
The warning signs that cost homeowners the most are the ones inside their own house, not the ones about their contractor. Recurring drywall cracks, soft bathroom floors, returning efflorescence, warm outlets, and failing previous work are all diagnostic signs that mean a cosmetic remodel needs a structural conversation first. Get the hidden envelope checked – subfloor, framing, moisture, panel – and get the finding in writing with dated photos before you pick a finish. A free estimate in Paradise from Sawyer Remodeling Paradise starts with that written assessment, the 365-Day Done Right Promise, and a price in writing before work starts. Call (866) 977-0526 to schedule yours.
Written by the team at Sawyer Remodeling Paradise.