Last updated November 17, 2026



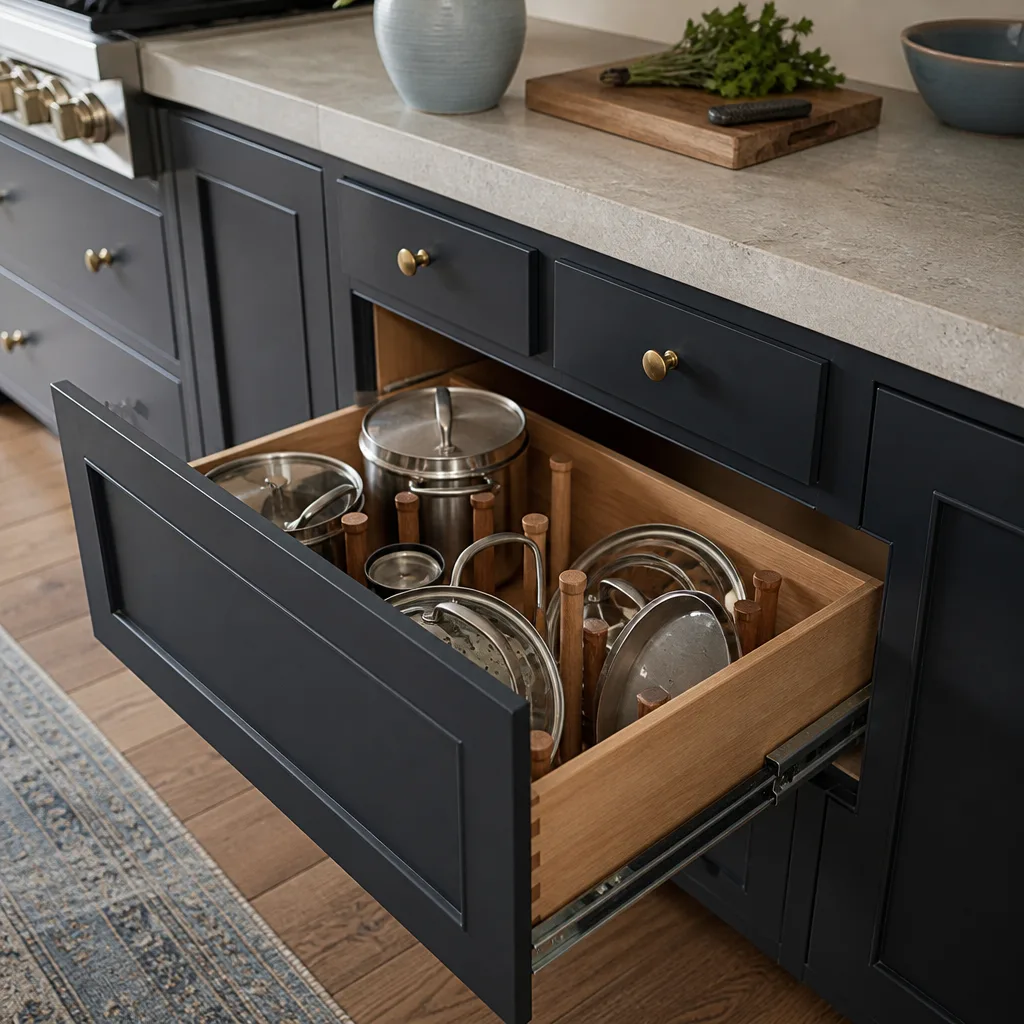



Free written scope consultation - allowances, timeline, and change-order rules on paper before a single trade is scheduled
Kitchen Remodeling Troubleshooting: Common Problems and How to Fix Them
The most expensive kitchen remodeling mistakes aren’t discovered during the project. They show up 90 days later, when the contractor is long gone and the caulk is already separating at the backsplash. A cabinet door that looked fine on install day starts rubbing the frame by summer. A range hood that roars to life never actually clears the smoke from a seared steak. We’ve walked into plenty of kitchens in Paradise where the finish looked sharp for a month and then quietly fell apart. This guide is the punch list and troubleshooting playbook we wish every homeowner had before signing off, so you know exactly what to inspect, when, and what to do when something fails.
Quick Answer
Most kitchen remodel problems after construction come down to installation defects, not bad materials: unlevel cabinet boxes, hinge misalignment, undersized ventilation, and countertop seams set over uneven framing. You catch and fix these on final-day inspection, before releasing final payment. If a defect appears later, document it in writing with photos and a dated message, request a warranty visit, and escalate only if the contractor stops responding.
Styles & brands we work with
- Kitchen remodeling
- Bathroom remodeling
- Home additions & ADU
- Roofing
- Windows & doors
- Driveway & pavers
- Fence
Table of Contents
- The Final-Day Punch List: What to Walk Through Before You Pay
- Cabinet Installation Defects That Are Cheap Now and Costly Later
- Why Range Hoods Underperform and How to Test CFM on Final Day
- How to Spot a Countertop That Will Crack at the Seams
- Grout and Caulk Failures: Why They Crack in Six Months
- Doors, Drawers, and Hardware: The Alignment Checks Nobody Does
- A Problem Appeared After the Job Closed: What to Do Next
- Desert Conditions That Stress a Paradise Kitchen
The Final-Day Punch List: What to Walk Through Before You Pay
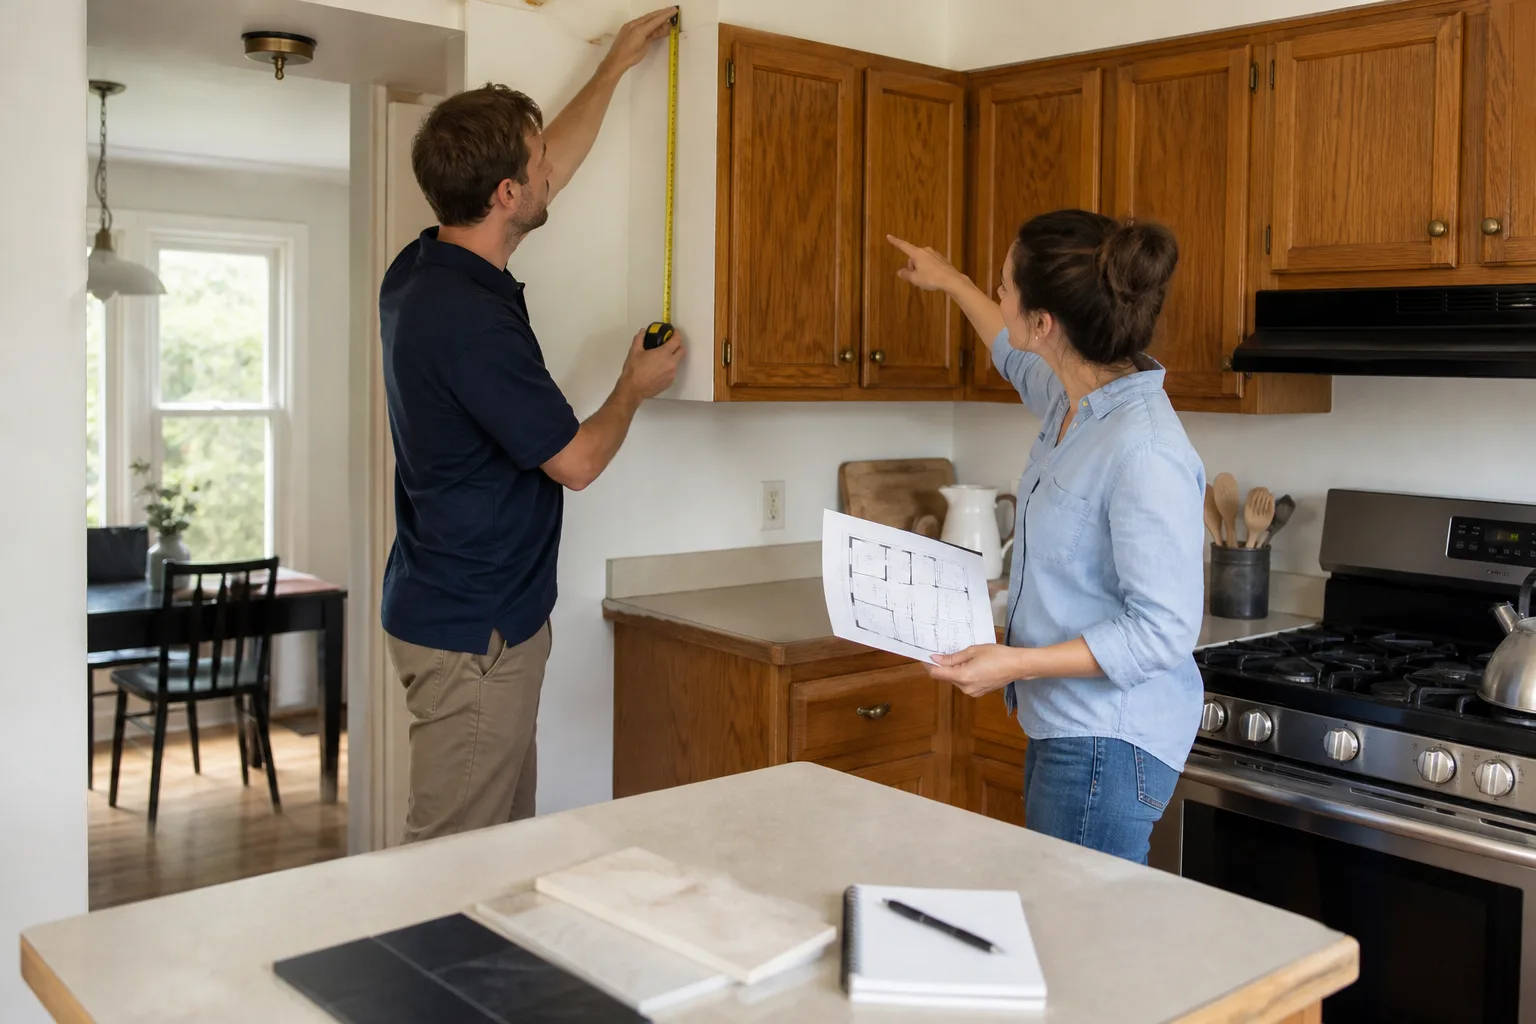
Final payment is your leverage. Once you hand over the last check, your ability to get small defects fixed fast drops sharply. So the walkthrough matters. Block two hours, bring a flashlight, a level if you own one, and this list. Do it with the lead on the job standing next to you, not over the phone.
Work through it in order, surface by surface:
- Cabinets. Open and close every door and drawer. Listen for rubbing, watch for gaps at the hinges, and check that the crown molding meets the ceiling without a visible wedge of caulk hiding a gap.
- Countertops. Run a fingernail across every seam. It should feel flush, not like a tiny step. Look under the sink cutout for a clean edge and no exposed substrate.
- Backsplash and grout. Shine the flashlight along the counter-to-wall joint. Any hairline gap at the caulk line will widen in a dry climate. Check that grout lines are uniform and sealed.
- Ventilation. Turn the hood on high and hold a paper towel or tissue near the filter. It should pull toward the hood firmly, not flutter.
- Plumbing. Run both faucets hot and cold, fill the sink, drain it, and watch under the cabinet for drips. Check the disposal and dishwasher cycle.
- Electrical. Test every outlet, especially GFCI near the sink. Flip every switch and confirm it controls what it should.
- Appliance fit. The range should slide in without scraping the counter edge. The fridge door should open past 90 degrees without hitting a cabinet.
- Floors and trim. Look for gaps at the toe kick, loose transition strips, and tiles that sound hollow when tapped.
Any item you find goes on a written punch list, signed by both sides, with a completion date. Don’t release final payment until it’s cleared or the contractor has agreed in writing to a holdback. That’s the same principle behind The Relay Visibility Guarantee: a written record beats a verbal promise every time.
Cabinet Installation Defects That Are Cheap Now and Costly Later
Cabinet problems are the most common thing we see surface after a remodel closes. Brand-name boxes from KraftMaid or Wellborn are built to tight tolerances. When they fail, it’s almost always the install, not the cabinet.
Here’s what to look for:
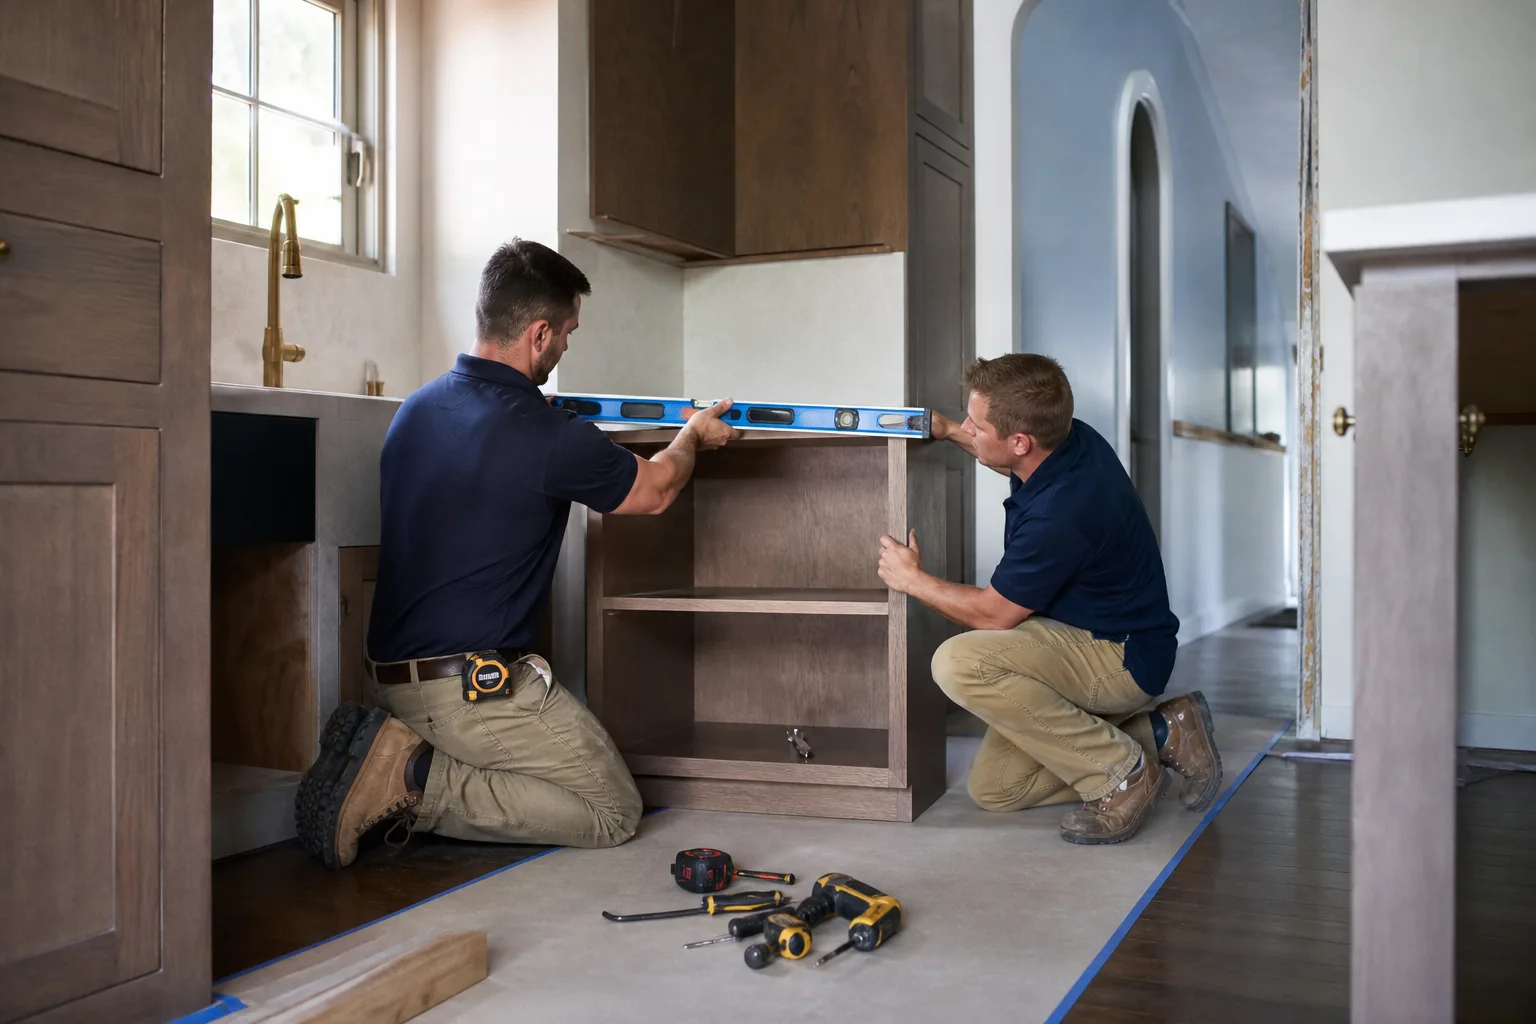
- Boxes out of level. If the cabinet frames aren’t shimmed and leveled to the wall, doors drift out of alignment within months and hinges wear faster. Lay a level across the top of the upper cabinets; a wobble means the whole run is off.
- Misaligned hinges. European-style concealed hinges have adjustment screws. A door that sits proud at the top and flush at the bottom is a hinge setting, not a bad door. It’s a five-minute fix on final day and a service call in month four.
- Gaps at crown molding. The joint between cabinet crown and the ceiling should be tight. A fat bead of caulk bridging a half-inch gap is hiding an unlevel install and will crack as the caulk shrinks.
- Uneven gaps between doors. Walk back eight feet and look at the whole run. The reveal between doors should be consistent. One wide gap and one tight gap means the boxes were set slightly askew.
- Toe kick separation. The base panel should sit flush against the floor or a leveling strip, with no daylight showing underneath.
Catching these on final day is a conversation with the installer still on site. Catching them in month four is a warranty claim. Same defect, very different experience.
Why Range Hoods Underperform and How to Test CFM on Final Day
A range hood that moves air isn’t the same as one that clears smoke, grease, and moisture. Plenty of Paradise kitchens end up with a hood that sounds powerful and does almost nothing. The culprit is usually the duct run behind the wall, not the hood itself.
Common reasons a hood underperforms:
- Too many elbows. Every 90-degree turn in the duct cuts airflow. A duct that runs up, over, and out through three elbows is choking the hood.
- Undersized duct. A high-CFM hood necked down to a smaller duct can’t push its rated volume. The duct should match or exceed the hood’s collar size.
- Recirculating setup disguised as vented. Some hoods are installed to filter and recirculate air back into the room instead of venting outside. That clears nothing; it just spreads the grease around.
- Short duct run with no exterior termination check. If the outside flap doesn’t open when the hood runs, air isn’t leaving the house.
How to test actual airflow on final day, without a flow meter:
- Turn the hood on high with all windows closed.
- Hold a tissue near the filter edge. It should pull strongly toward the hood and stay there.
- Go outside and confirm the exterior vent flap is open and air is moving out.
- Boil a pot of water or sear something smoky and watch whether the smoke actually leaves the room or lingers at the ceiling.
If the tissue barely moves or the smoke hangs, the install needs a fix before you sign off. A hood that fails this test will fail it forever.
How to Spot a Countertop That Will Crack at the Seams
Countertop failures show up as a crack at the seam or a split at the sink cutout, usually within the first year. Both are installation issues. The stone or quartz from Cambria or Caesarstone is engineered to hold up; the failure is in how it was set.
Check these points before final payment:
- Seam flushness. Run a fingernail or a credit card edge across the seam. It should glide. A lip catches your nail and will collect dirt and eventually open.
- Support under seams. Ask what’s underneath the seam. A seam over open space with no support block is a crack waiting to happen. Seams should land over a cabinet divider or a support strip.
- Sink cutout edges. Look at the cutout rim. It should be smooth and sealed, with no chipped edge and no exposed particle board underneath. A cutout that’s too tight around the sink strains the stone.
- Levelness across the run. If the counter dips or humps, the seam takes the stress. A straightedge across the surface tells you quickly.
- Caulk at the wall. The joint between counter and backsplash should be a clean caulk line, not a thick smear. A wide bead absorbs movement and cracks.
Quartz and natural stone don’t move much, but they do move. Seams and cutouts are where that stress concentrates. Good fabrication and support prevent it. A rushed install doesn’t.
Grout and Caulk Failures: Why They Crack in Six Months
Grout cracking and caulk separating within the first year is one of the most common callbacks in any kitchen. In Paradise, the dry desert air and big day-to-night temperature swings make it worse. Caulk shrinks as it cures and the joint it’s supposed to seal moves with the house.
Two rules prevent most of it:
- Caulk where surfaces meet, grout where they don’t. The joint between the backsplash and the countertop, and where the backsplash meets the cabinet, should be flexible caulk, not grout. Grout is rigid. When the wall and counter move at different rates, rigid grout cracks.
- Proper prep before caulking. Caulk sticks to clean, dry surfaces. A bead slapped over dust or a damp joint peels within weeks. Look for a smooth, even line, not a thick blob.
If you’re already seeing cracked grout at a corner or a caulk line pulling away, it’s worth addressing quickly. Small gaps let moisture behind the tile, and in a kitchen that means the substrate can soften over time. A fresh, properly applied bead solves it if caught early.
Doors, Drawers, and Hardware: The Alignment Checks Nobody Does
The small stuff is what you live with every day, and it’s what most homeowners forget to check. Spend ten minutes on it during the walkthrough.
- Open every drawer fully. It should glide the whole way without binding. A drawer that sticks near the end means the slides are misaligned or the box is out of square.
- Close every door and look for the reveal. Gaps between doors should be even across the run. Uneven reveals mean hinges need adjusting, which is quick now.
- Check soft-close function. If your cabinets have soft-close hinges and slides, confirm every door and drawer actually closes gently. One that slams is a mis-set damper.
- Test all hardware. Pulls and knobs should be tight with no wiggle. A loose handle means the screw didn’t bite, which will work loose again.
- Look at the inside of the boxes. No debris, no stray staples, no damaged shelf pins.
None of this is dramatic. But a door that rubs a frame for a year wears the finish off both surfaces, and then it’s a refinish, not an adjustment. Handle it on final day.
A Problem Appeared After the Job Closed: What to Do Next
Something cracks, a drawer fails, the caulk lifts. Here’s the order of operations that gets results.
- Document with photos and a date. Close-up and wide shot. Note when you first noticed it and whether it’s worsening.
- Put it in writing. A text or email to the contractor is fine, but it should state the problem, the photos, and a request for a visit. Written records matter if the issue needs escalation later.
- Reference your warranty. Your contract and any written guarantee define what’s covered. Read the warranty language before you call so you’re asking for a specific covered repair.
- Give a reasonable window for a response. A few business days is standard. If they don’t respond, send a follow-up referencing the original message.
- Escalate deliberately. If the contractor goes silent, the next steps are a written demand letter, then your state contractor licensing board, then small claims court. Keep the paper trail intact through every step.
What you want from a warranty is simple: a clear process for a callback, in writing, with a defined timeline. That’s why we put the 365-Day Done Right Promise in writing on every job. If it’s not done right, we make it right, for a full year after the project closes. It’s the difference between a warranty you have to argue for and one that shows up before you ask.
Desert Conditions That Stress a Paradise Kitchen
Paradise, Nevada, is hard on a kitchen in ways a coastal install never deals with. The summer heat and single-digit humidity pull moisture out of wood and caulk. Cabinet doors that fit tightly in a humid spring can shrink and reveal gaps by August. Caulk dries and cracks faster here, so any installer who treats a Paradise kitchen like a mild-climate one will leave you with joints that open up early.
Two things follow from that:
- Wood and cabinetry need acclimation. Cabinets and trim should sit in the home for a few days before install so they adjust to interior conditions. Skip that step and doors and frames shift after install.
- Flexible, exterior-grade caulk at the tops of the priority list. The joints that see the biggest temperature swings, like the backsplash-to-counter seam, need a caulk that stays flexible. Cheap rigid caulk cracks in one dry season.
We’ve seen plenty of Paradise remodels where the bones were solid and the finish failed because nobody accounted for the local climate. It’s a solvable problem, but only if it’s on the radar from the start.
Common Mistakes to Avoid
- Releasing final payment before the punch list is cleared. That’s your leverage. Pay in full and the urgency to fix a rubbing door disappears.
- Signing off on cabinets without a level. Look at them from across the room and run a level across the tops. Unlevel boxes are the root of most alignment problems down the line.
- Skipping the smoke test on the range hood. A hood that sounds strong can still be failing to move air. Test it before the installer leaves the house.
- Accepting a thick caulk bead as a fix for a gap. A wide smear over a crack hides a real install problem that returns once the caulk dries.
- Not reading the warranty until something breaks. Know what’s covered and for how long before the project closes, so you’re not surprised when you call.
- Letting the contractor leave without taking photos. Timestamped photos of the finished work, before and after, give you proof of condition if a defect appears later.
- Waiting to report a problem. Small cracks and gaps get worse. Report within the warranty window, not after it.
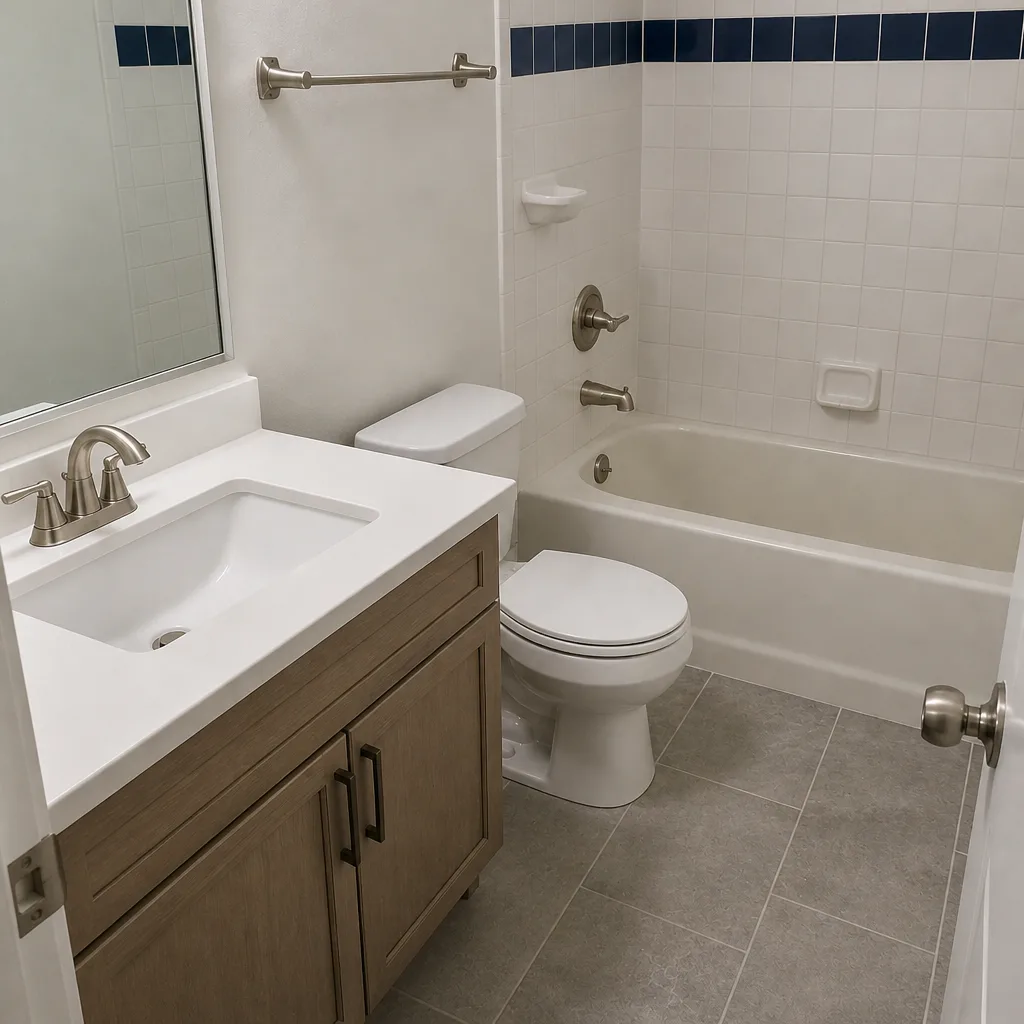
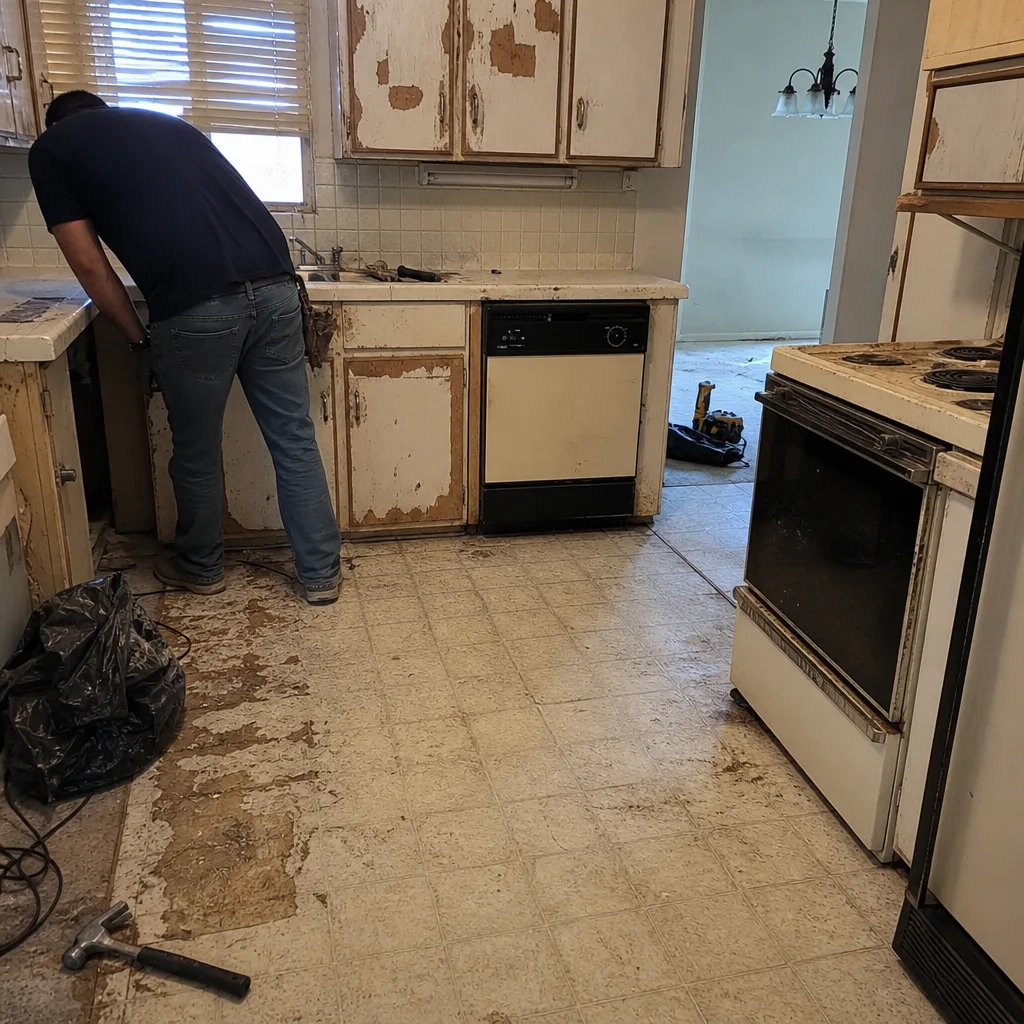
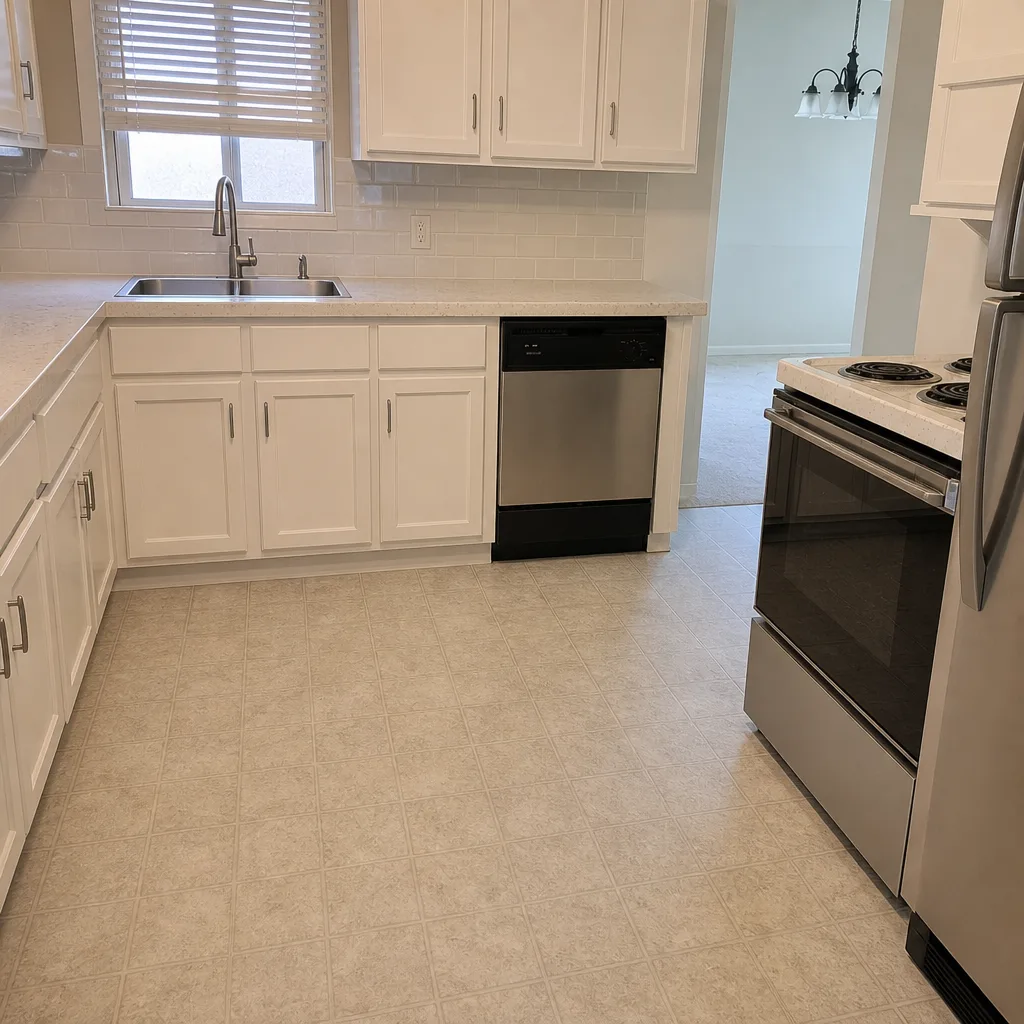
See the difference
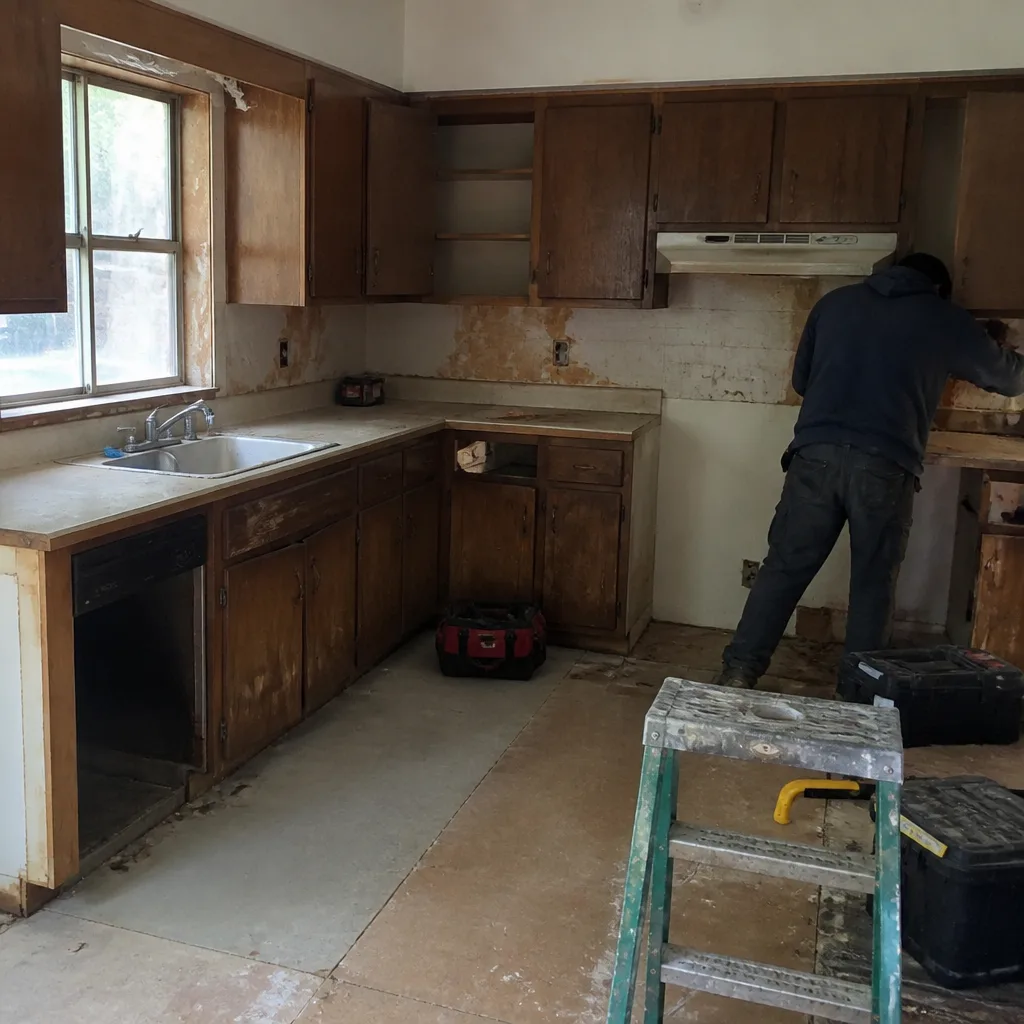 Before
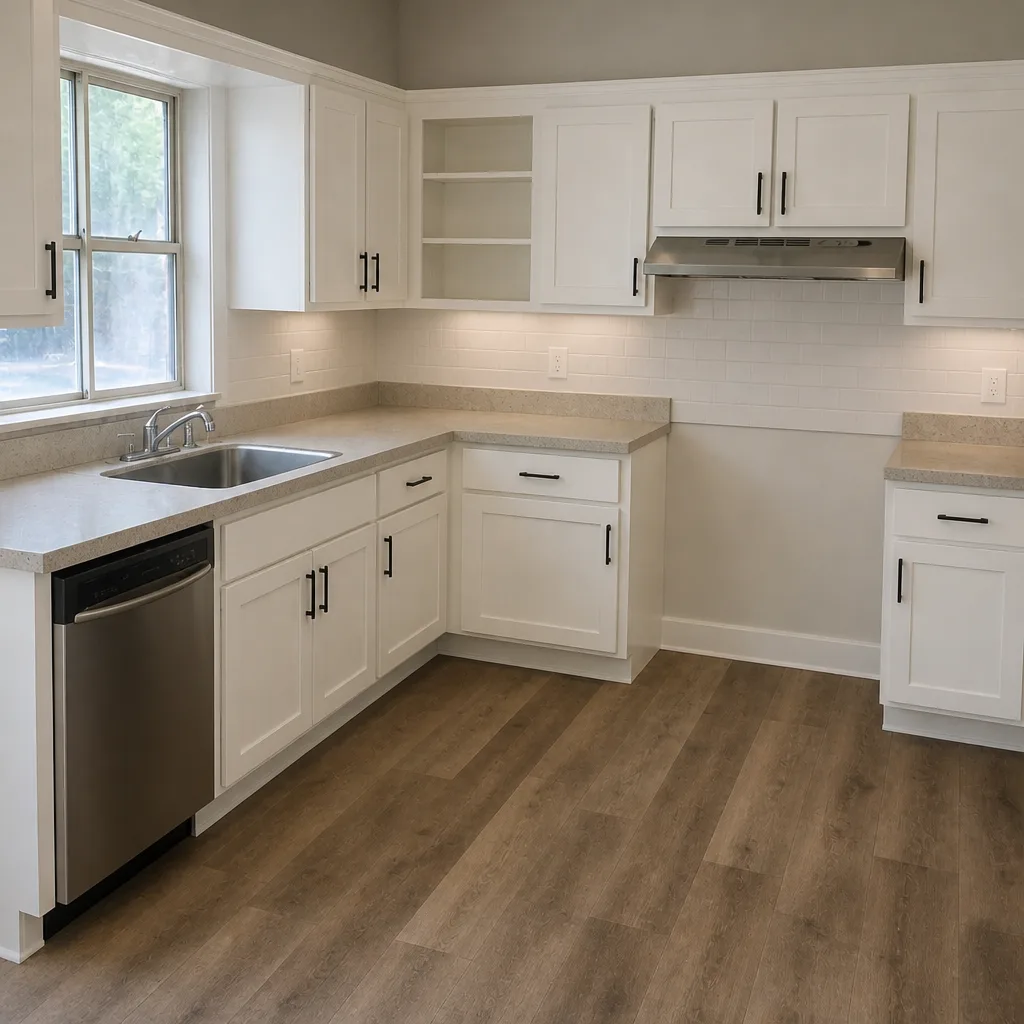 After
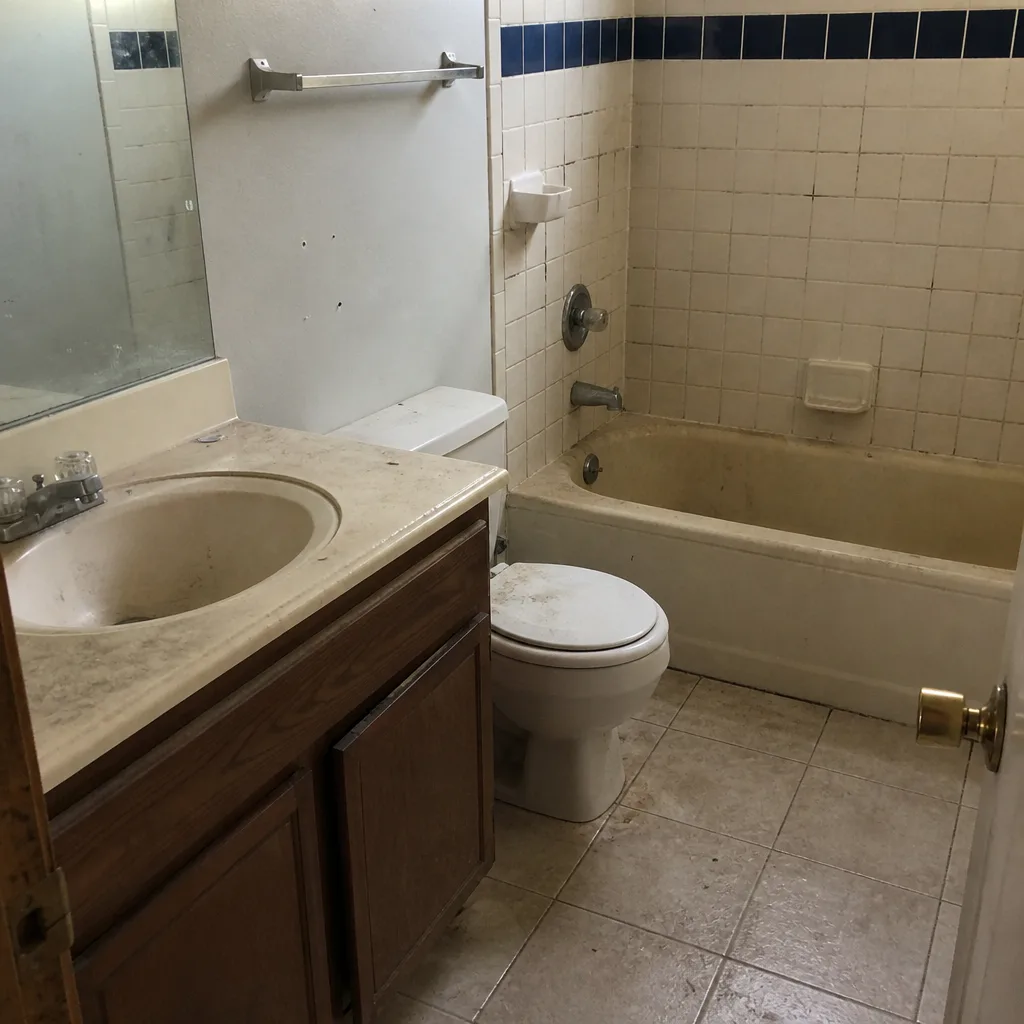 Before
 After
 Before
 After
When to Call a Professional
Some problems are truly do-it-yourself fixes, like tightening a loose handle or adjusting a soft-close damper. But other issues, especially anything involving cabinet re-shimming, countertop seam repair, hood ducting, or electrical and plumbing behind a wall, are worth a professional visit. These are the kinds of fixes where a wrong move creates a bigger problem. If your kitchen is in the middle of a remodel and you haven’t started, the smart move is to talk to a contractor who puts the scope and the price in writing before any work begins. Sawyer Remodeling Paradise offers free estimates in Paradise and serves homeowners across the area with a written price before any tool is picked up. Call (866) 977-0526 to schedule yours, and if you’re weighing a whole-room change, our Kitchen Remodeling in Sunrise Manor guide covers what a full kitchen professional scope looks like from start to finish.
Frequently Asked Questions
Installation errors show up fast and in predictable spots: misaligned cabinet doors within weeks, grout cracking at corners within a few months, and caulk pulling away before the first year ends. Wear and tear is gradual and follows years of use. If a defect appears in the first six months, it’s almost always an install issue. Document it with photos and contact your contractor in writing. Call (866) 977-0526 for a free estimate on getting it corrected.
Walk the punch list on final day before releasing payment. Test every cabinet door and drawer, run a fingernail across every countertop seam, check the caulk at the backsplash joint, and do a smoke or tissue test on the range hood. Write down anything that fails, have both sides sign it, and agree on a completion date. Payment is leverage, so keep it until the list is cleared. For a written-price and warranty process you can count on, call (866) 977-0526.
Most underperforming hoods have a duct problem, not a motor problem: too many elbows, an undersized duct, or a recirculating setup that filters air back into the room instead of venting it outside. Test the hood with a tissue on high and confirm air exits the exterior flap. If it doesn’t clear smoke, the ducting needs attention. Call (866) 977-0526 to schedule a free estimate.
A solid workmanship warranty runs at least a full year, and the terms should be in writing before the job starts. Our 365-Day Done Right Promise backs every project for a full year after it closes, so if something isn’t right we fix it. Ask any contractor what their warranty covers and for how long before you sign. Call (866) 977-0526 for a free estimate in Paradise.
It’s common, but not unavoidable. The dry desert air and wide temperature swings here cause cheap or rigid caulk to crack within a season. Properly applied flexible caulk at the counter-to-backsplash joint holds up much longer. If the joint is already opening, a fresh bead solves it when caught early. Call (866) 977-0526 for a free estimate on a fix.
It shouldn’t. A written, line-item price before work begins is the standard you should expect, and it’s how we run every job in Paradise. The number on the invoice should be the number you approved. If a contractor won’t give you a written price up front, that’s a warning sign. Call (866) 977-0526 for a free estimate with a written price in hand.
The Bottom Line
Kitchen remodels fail in predictable places, and that’s good news: you can catch almost all of it on final-day inspection. Level cabinets, tight reveals, flush countertop seams, flexible caulk at movement joints, and a range hood that actually vents outside. Those checks are the difference between a finish that lasts and a callback in month four. Keep the conversation in writing, keep the warranty in hand, and hold final payment until the punch list clears. If you want a written price and a warranty that holds up in Paradise, call (866) 977-0526. You can also reach a General Contractor in Sunrise Manor or explore Bathroom Remodeling in Sunrise Manor, and for the full picture of our services, visit the Sawyer Remodeling Paradise home.
Written by the team at Sawyer Remodeling Paradise.